This post provides an introduction to Amazon Kinesis: its architecture, what it provides, and how it’s typically used. It goes on to step through how to implement an application where data is ingested by Amazon Kinesis before being processed and then stored in MongoDB Atlas.
This is part of a series of posts which examine how to use MongoDB Atlas with a number of complementary technologies and frameworks.
Introduction to Amazon Kinesis
The role of Amazon Kinesis is to get large volumes of streaming data into AWS where it can then be processed, analyzed, and moved between AWS services. The service is designed to ingest and store terabytes of data every hour, from multiple sources. Kinesis provides high availability, including synchronous replication within an AWS region. It also transparently handles scalability, adding and removing resources as needed.
Once the data is inside AWS, it can be processed or analyzed immediately, as well as being stored using other AWS services (such as S3) for later use. By storing the data in MongoDB, it can be used both to drive real-time, operational decisions as well as for deeper analysis.
As the number, variety, and velocity of data sources grow, new architectures and technologies are needed. Technologies like Amazon Kinesis and Apache Kafka are focused on ingesting the massive flow of data from multiple fire hoses and then routing it to the systems that need it – optionally filtering, aggregating, and analyzing en-route.
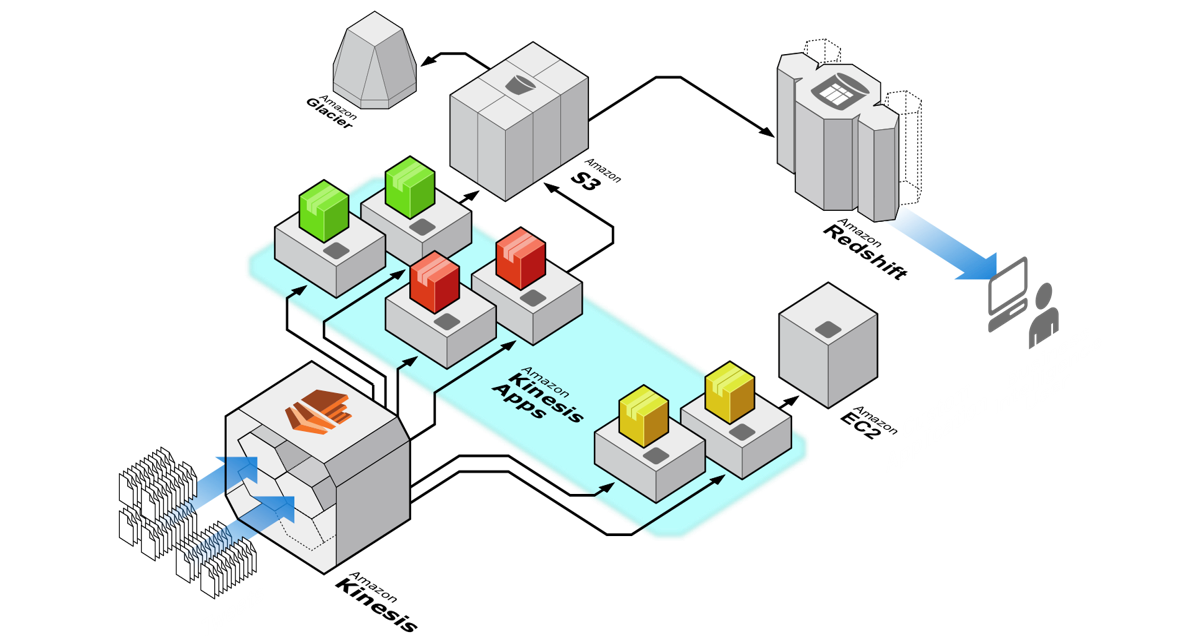
Figure 1: AWS Kinesis Architecture
Typical data sources include:
- IoT assets and devices(e.g., sensor readings)
- On-line purchases from an ecommerce store
- Log files
- Video game activity
- Social media posts
- Financial market data feeds
Rather than leave this data to fester in text files, Kinesis can ingest the data, allowing it to be processed to find patterns, detect exceptions, drive operational actions, and provide aggregations to be displayed through dashboards.
There are actually 3 services which make up Amazon Kinesis:
- Amazon Kinesis Firehose is the simplest way to load massive volumes of streaming data into AWS. The capacity of your Firehose is adjusted automatically to keep pace with the stream throughput. It can optionally compress and encrypt the data before it’s stored.
- Amazon Kinesis Streams are similar to the Firehose service but give you more control, allowing for:
- Multi-stage processing
- Custom stream partitioning rules
- Reliable storage of the stream data until it has been processed.
- Amazon Kinesis Analytics is the simplest way to process the data once it has been ingested by either Kinesis Firehose or Streams. The user provides SQL queries which are then applied to analyze the data; the results can then be displayed, stored, or sent to another Kinesis stream for further processing.
This post focuses on Amazon Kinesis Streams, in particular, implementing a consumer that ingests the data, enriches it, and then stores it in MongoDB.
Accessing Kinesis Streams – the Libraries
There are multiple ways to read (consume) and write (produce) data with Kinesis Streams:
- Amazon Kinesis Streams API
- Provides two APIs for putting data into an Amazon Kinesis stream: PutRecord and PutRecords
- Amazon Kinesis Producer Library (KPL)
- Easy to use and highly configurable Java library that helps you put data into an Amazon Kinesis stream. Amazon Kinesis Producer Library (KPL) presents a simple, asynchronous, high throughput, and reliable interface.
- Amazon Kinesis Agent
- The agent continuously monitors a set of files and sends new entries to your Stream or Firehose.
- Amazon Kinesis Client Library (KCL)
- A Java library that helps you easily build Amazon Kinesis Applications for reading and processing data from an Amazon Kinesis stream. KCL handles issues such as adapting to changes in stream volume, load-balancing streaming data, coordinating distributed services, providing fault-tolerance, and processing data.
- Amazon Kinesis Client Library MultiLangDemon
- The MultiLangDemon is used as a proxy by non-Java applications to use the Kinesis Client Library.
- Amazon Kinesis Connector Library
- A library that helps you easily integrate Amazon Kinesis with other AWS services and third-party tools.
- Amazon Kinesis Storm Spout
- A library that helps you easily integrate Amazon Kinesis Streams with Apache Storm.
The example application in this post use the Kinesis Agent and the Kinesis Client Library MultiLangDemon (with Node.js).
Role of MongoDB Atlas
MongoDB is a distributed database delivering a flexible schema for rapid application development, rich queries, idiomatic drivers, and built in redundancy and scale-out. This makes it the go-to database for anyone looking to build modern applications.
MongoDB Atlas is a hosted database service for MongoDB. It provides all of the features of MongoDB, without the operational heavy lifting required for any new application. MongoDB Atlas is available on demand through a pay-as-you-go model and billed on an hourly basis, letting you focus on what you do best.
It’s easy to get started – use a simple GUI to select the instance size, region, and features you need. MongoDB Atlas provides:
- Security features to protect access to your data
- Built in replication for always-on availability, tolerating complete data center failure
- Backups and point in time recovery to protect against data corruption
- Fine-grained monitoring to let you know when to scale. Additional instances can be provisioned with the push of a button
- Automated patching and one-click upgrades for new major versions of the database, enabling you to take advantage of the latest and greatest MongoDB features
- A choice of regions and billing options
Like Amazon Kinesis, MongoDB Atlas is a natural fit for users looking to simplify their development and operations work, letting them focus on what makes their application unique rather than commodity (albeit essential) plumbing. Also like Kinesis, you only pay for MongoDB Atlas when you’re using it with no upfront costs and no charges after you terminate your cluster.
Example Application
The rest of this post focuses on building a system to process log data. There are 2 sources of log data:
- A simple client that acts as a Kinesis Streams producer, generating sensor readings and writing them to a stream
- Amazon Kinesis Agent monitoring a SYSLOG file and sending each log event to a stream
In both cases, the data is consumed from the stream using the same consumer, which adds some metadata to each entry and then stores it in MongoDB Atlas.
Create Kinesis IAM Policy in AWS
From the IAM section of the AWS console use the wizard to create a new policy. The policy should grant permission to perform specific actions on a particular stream (in this case “ClusterDBStream”) and the results should look similar to this:
Next, create a new user and associate it with the new policy. Important: Take a note of the AWS_ACCESS_KEY_ID and AWS_SECRET_ACCESS_KEY.
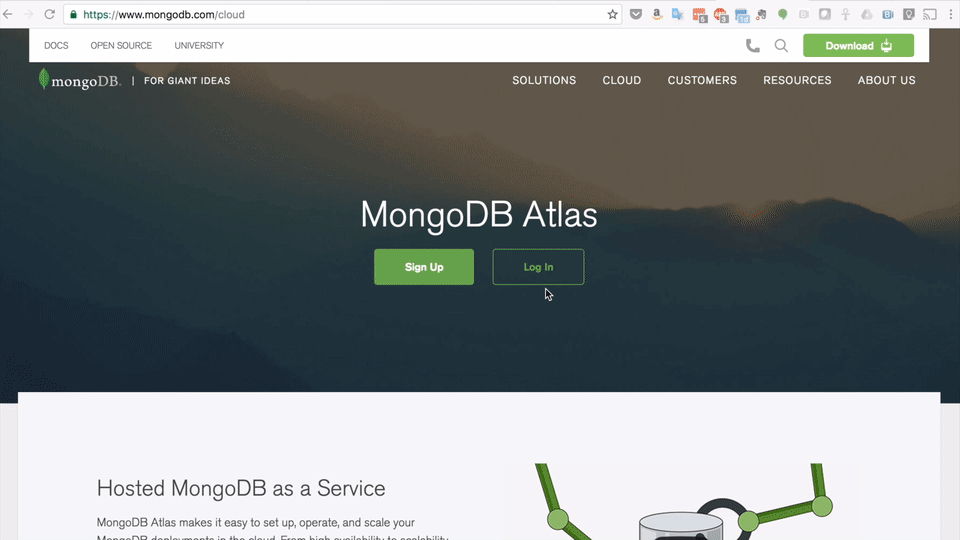
Create MongoDB Atlas Cluster
Register with MongoDB Atlas and use the simple GUI to select the instance size, region, and features you need (Figure 2).
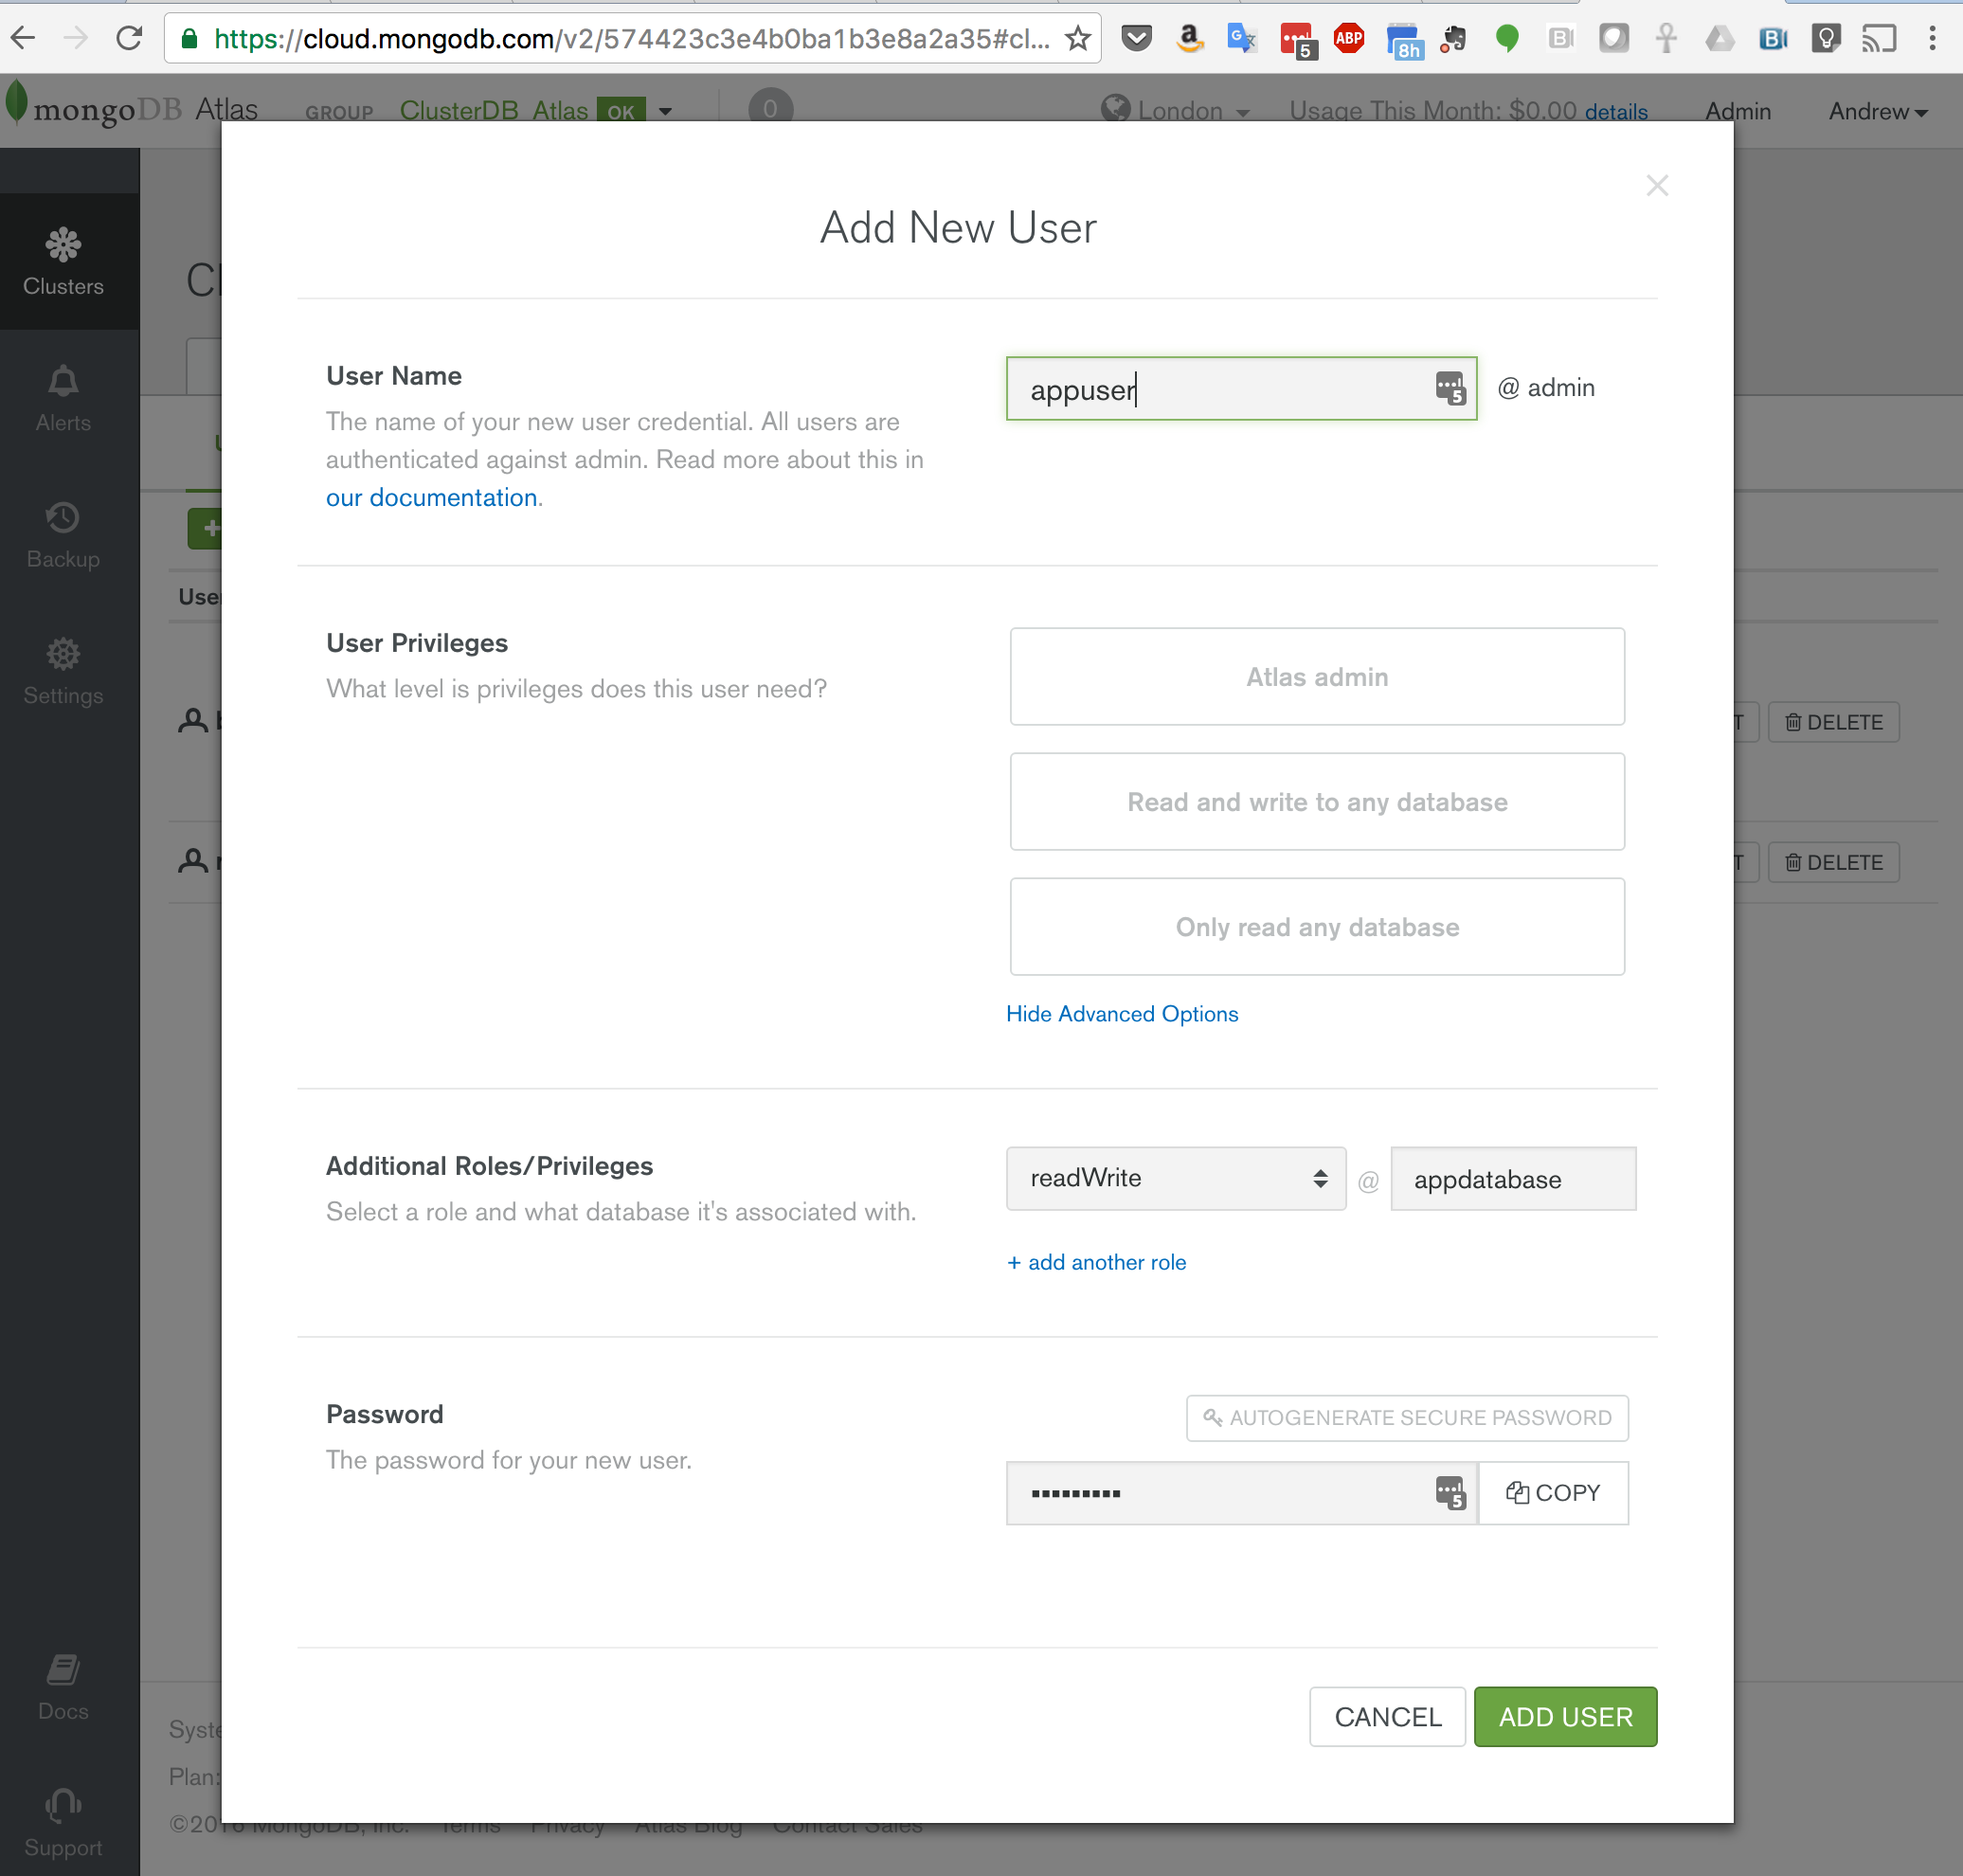
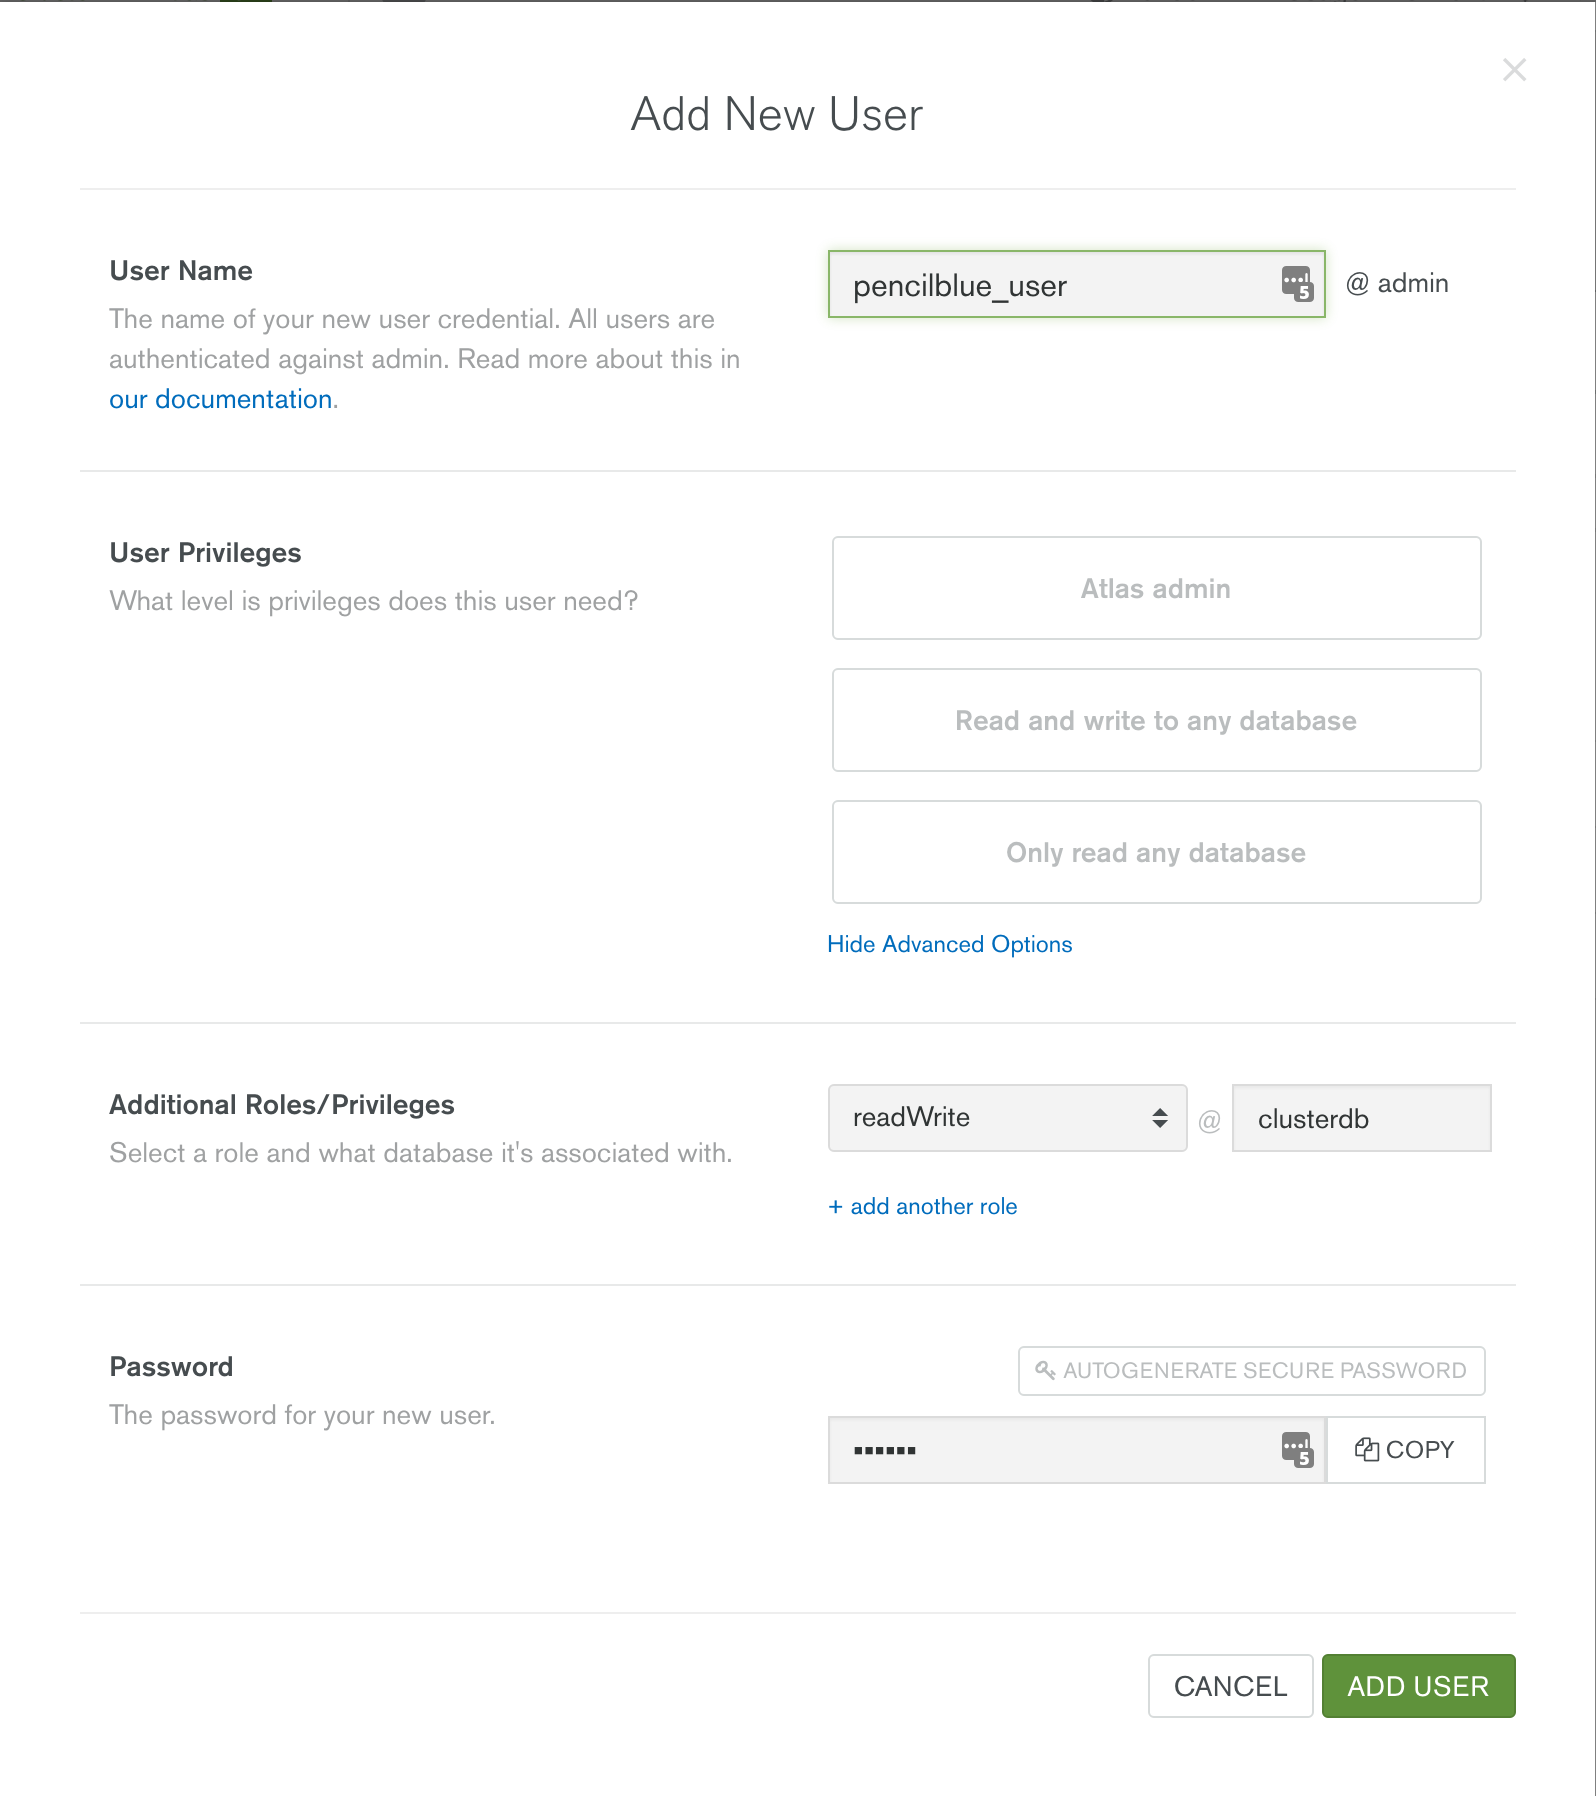
Create a user with read and write privileges for just the database that will be used for your application, as shown in Figure 3.

Figure 3: Creating an Application user in MongoDB Atlas
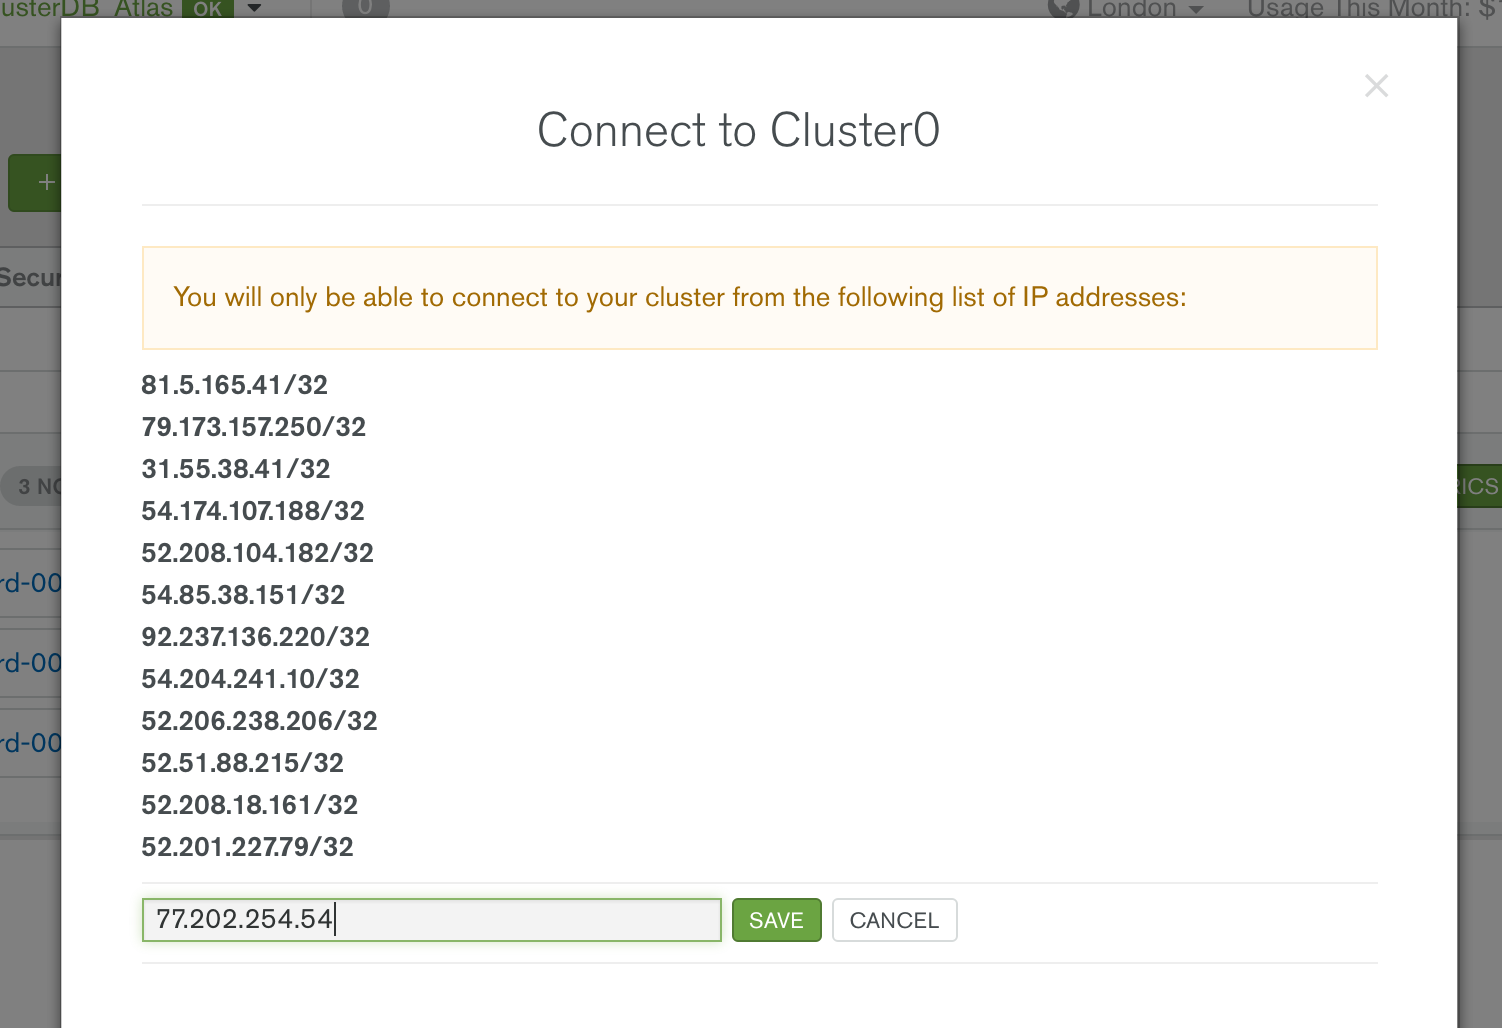
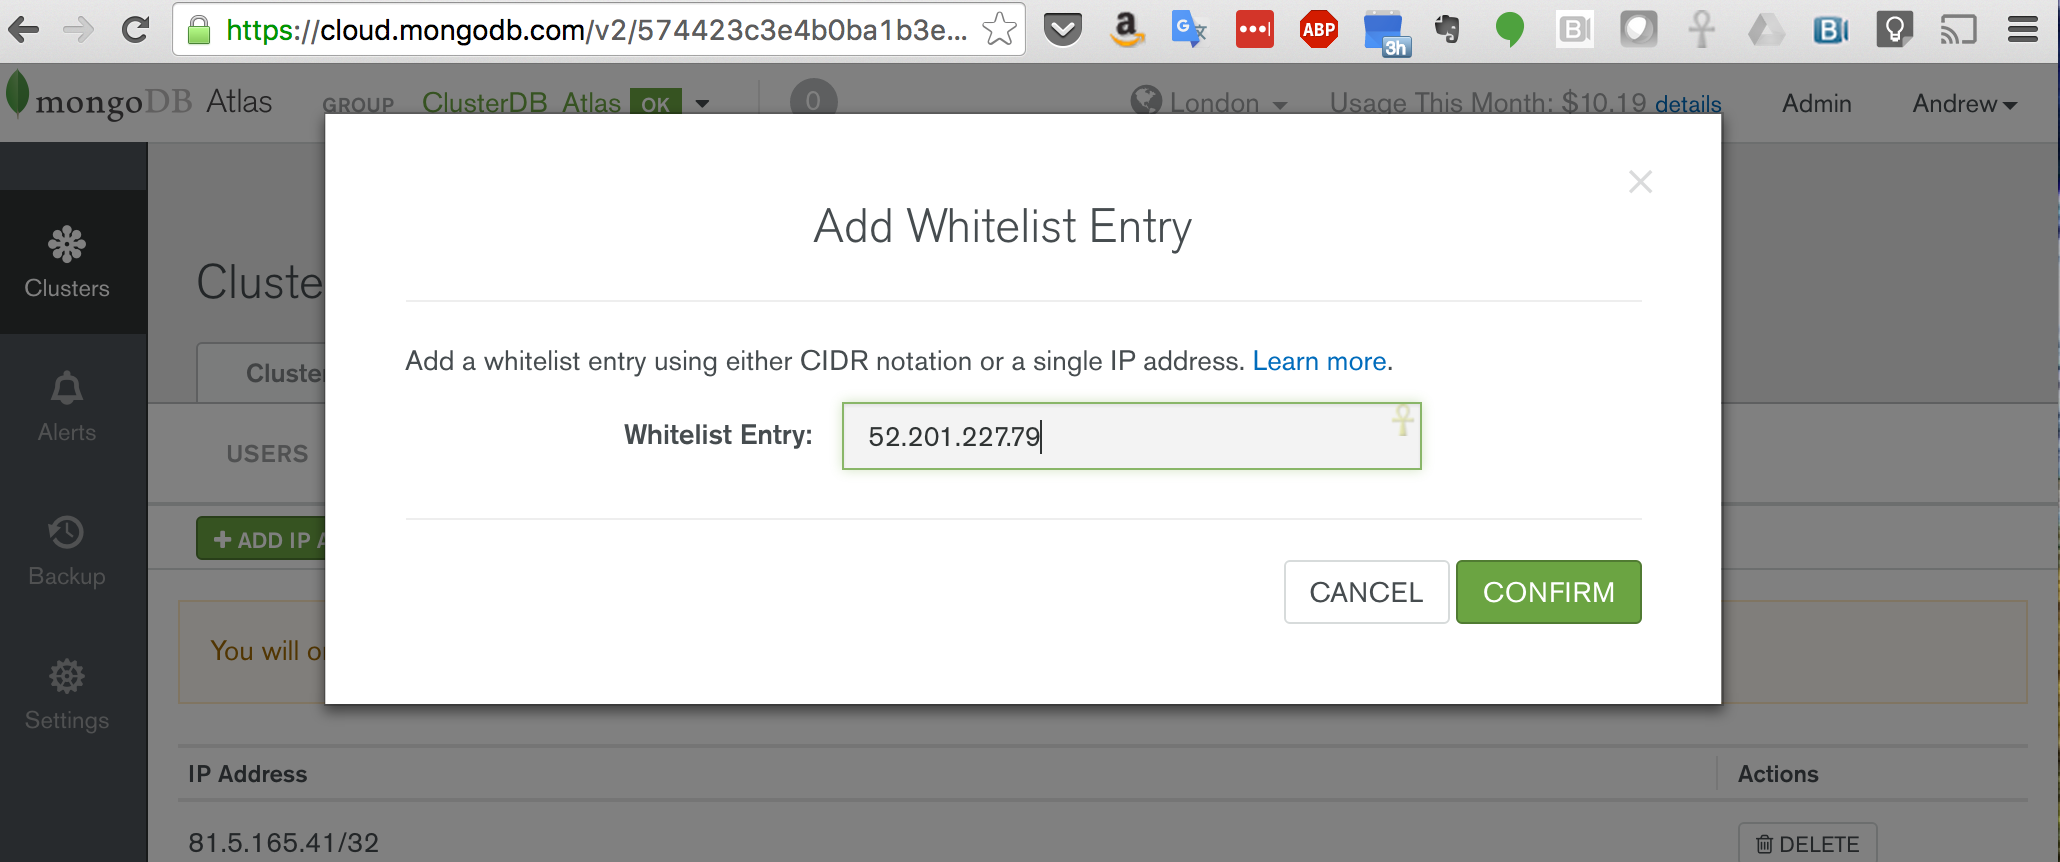
You must also add the IP address of your application server to the IP Whitelist in the MongoDB Atlas security tab (Figure 4). Note that if multiple application servers will be accessing MongoDB Atlas then an IP address range can be specified in CIDR format (IP Address/number of significant bits).
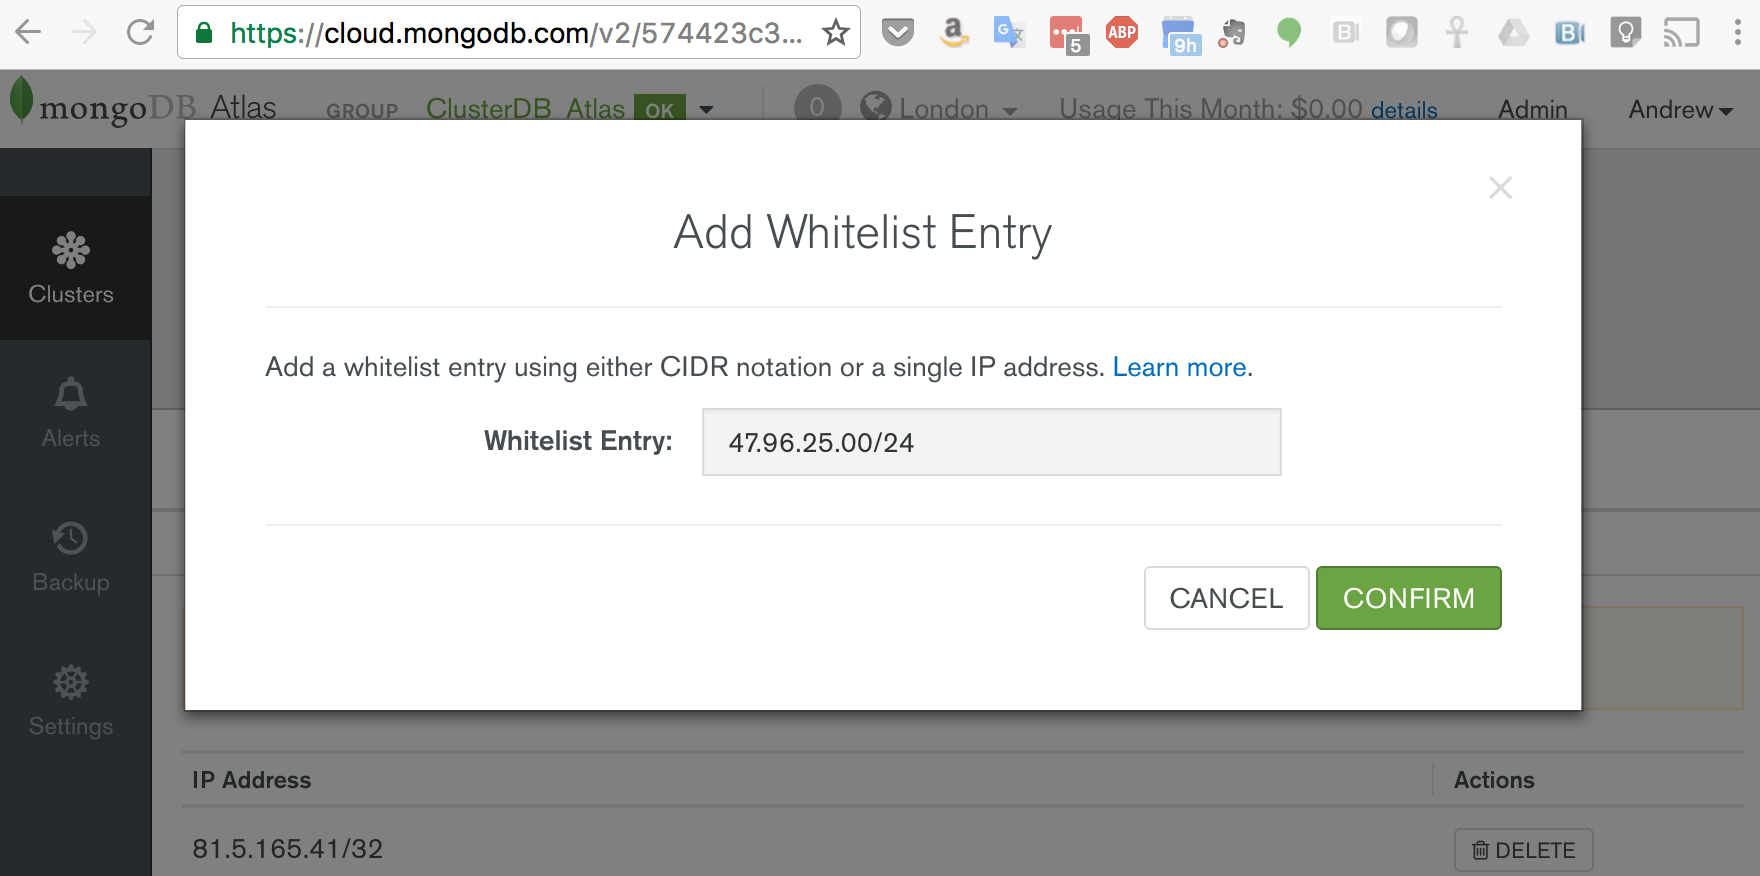
Figure 4: Add App Server IP Address(es) to MongoDB Atlas
If your application server(s) are running in AWS, then an alternative to IP Whitelisting is to configure a VPC (Virtual Private Cloud) Peering relationship between your MongoDB Atlas group and the VPC containing your AWS resources. This removes the requirement to add and remove IP addresses as AWS reschedules functions, and is especially useful when using highly dynamic services such as AWS Lambda.
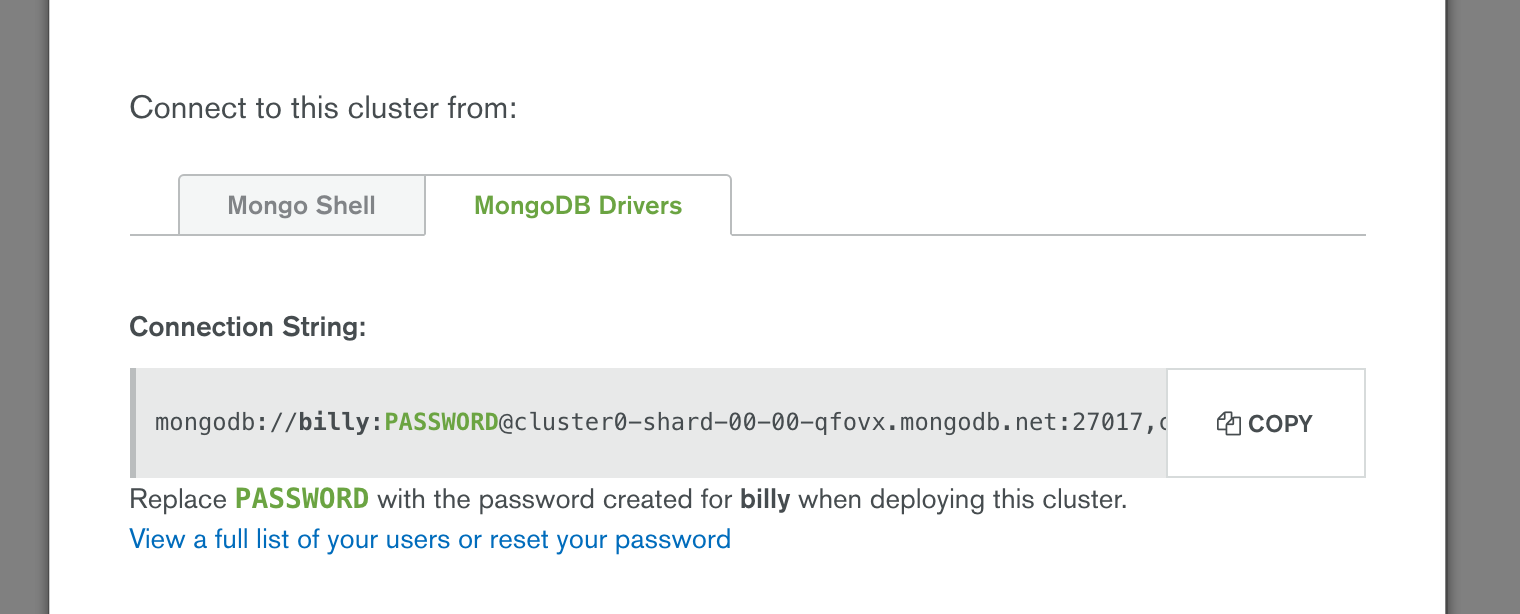
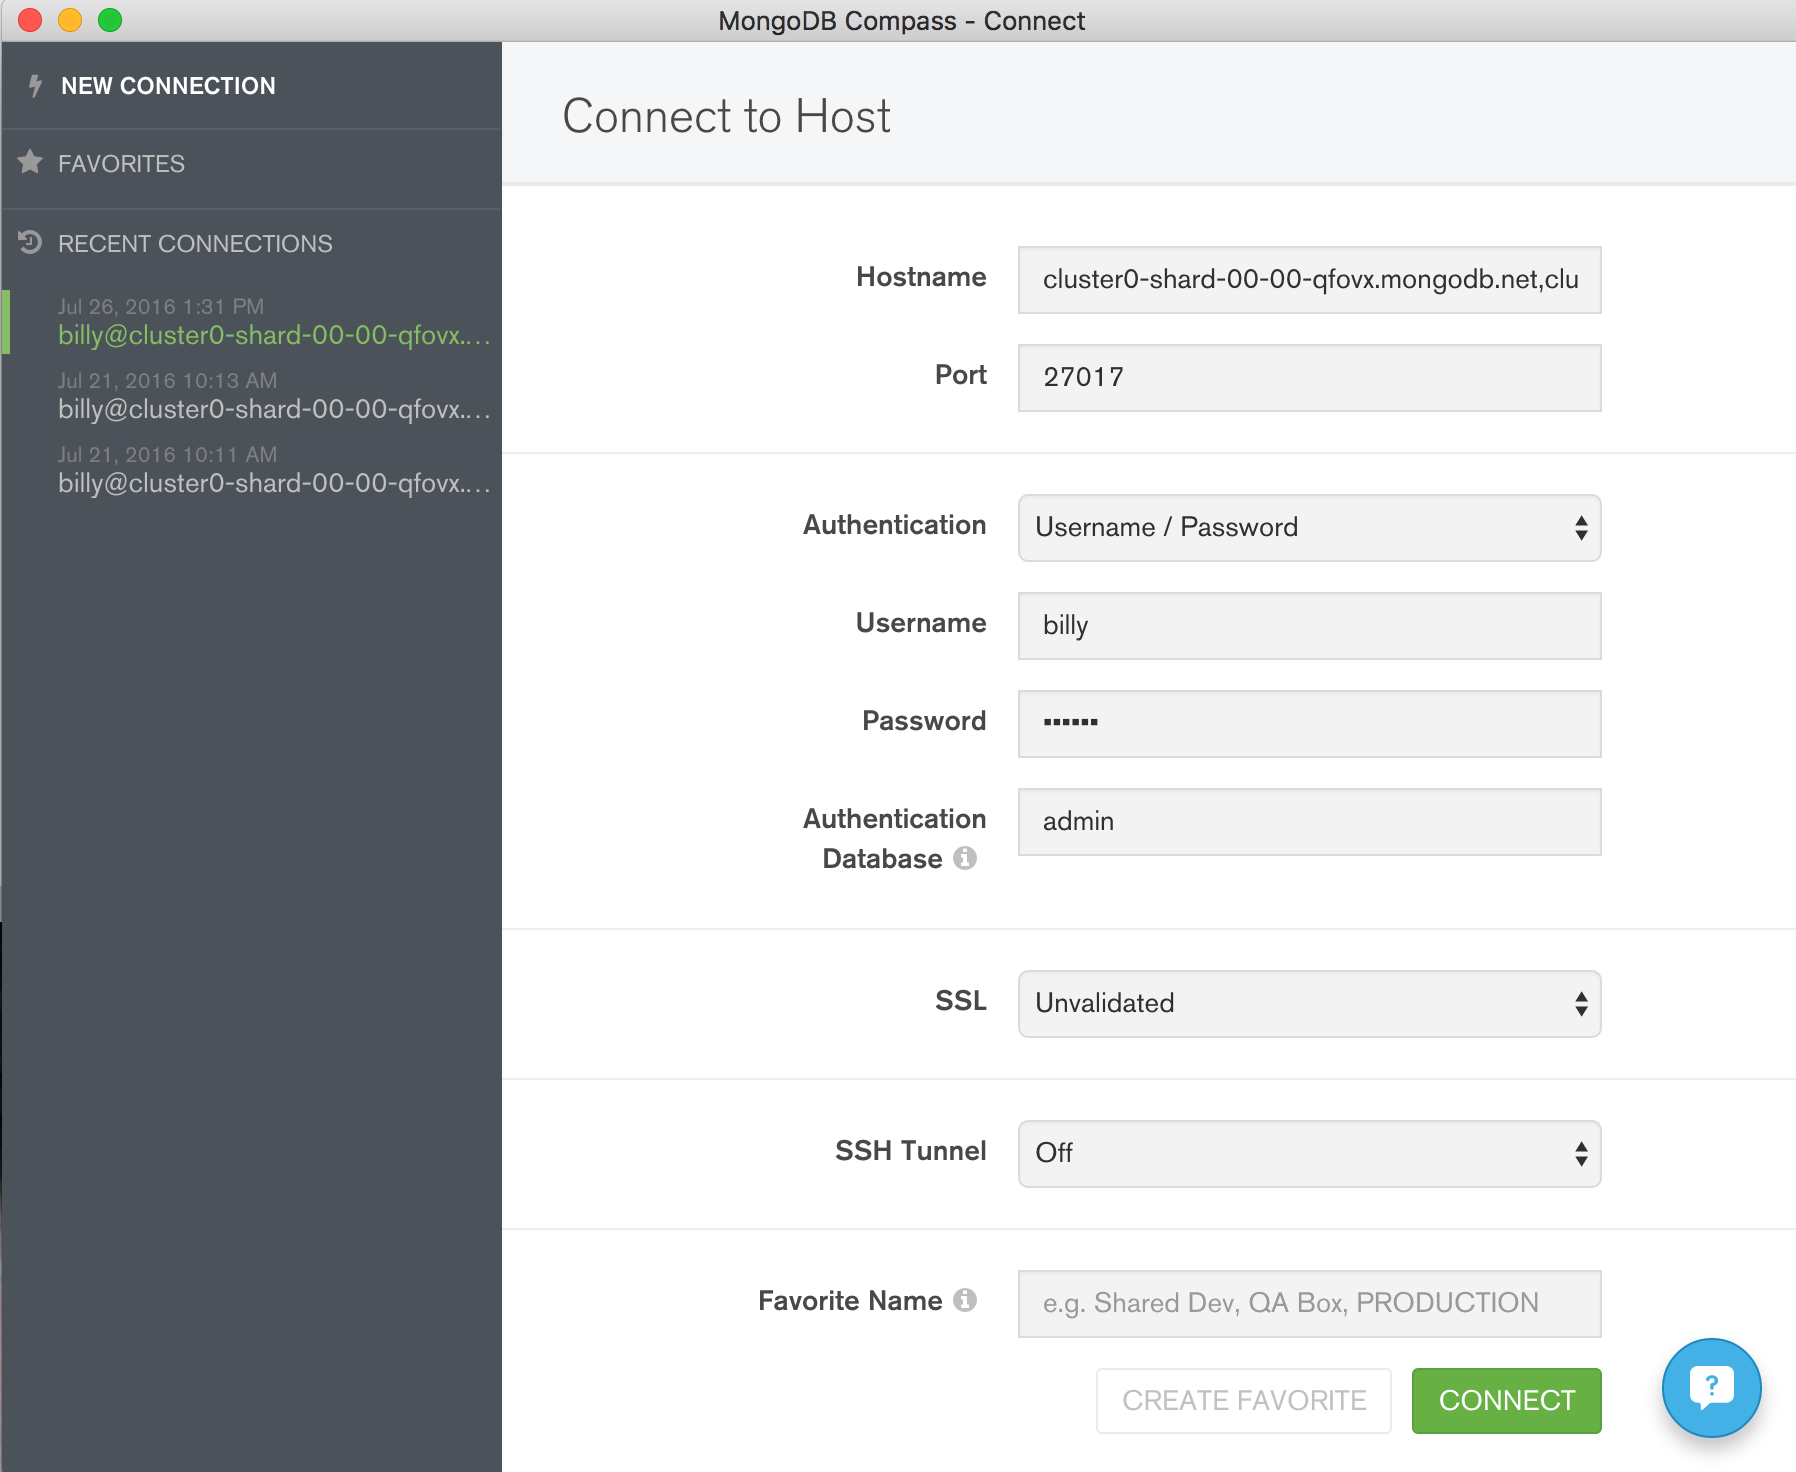
Click the “Connect” button and make a note of the URI that should be used when connecting to the database (note that you will substitute the user name and password with ones that you’ve just created).
App Part 1 – Kinesis/Atlas Consumer
The code and configuration files in Parts 1 & 2 are based on the sample consumer and producer included with the client library for Node.js (MultiLangDaemon).
Install the Node.js client library:
git clone https://github.com/awslabs/amazon-kinesis-client-nodejs.git
cd amazon-kinesis-client-nodejs
npm install
Install the MongoDB Node.js Driver:
npm install --save mongodb
Move to the consumer sample folder:
cd samples/basic_sample/consumer/
Create a configuration file (“logging_consumer.properties”), taking care to set the correct stream and application names and AWS region:
The code for working with MongoDB can be abstracted to a helper file (“db.js”):
Create the application Node.js file (“logging_consumer_app.js”), making sure to replace the database user and host details in “mongodbConnectString” with your own:
Note that this code adds some metadata to the received object before writing it to MongoDB. At this point, it is also possible to filter objects based on any of their fields.
Note also that this Node.js code logs a lot of information to the “application log” file (including the database password!); this is for debugging and would be removed from a real application.
The simplest way to have the application use the user credentials (noted when creating the user in AWS IAM) is to export them from the shell where the application will be launched:
export AWS_ACCESS_KEY_ID=????????????????????
export AWS_SECRET_ACCESS_KEY=????????????????????????????????????????
Finally, launch the consumer application:
../../../bin/kcl-bootstrap --java /usr/bin/java -e -p ./logging_consumer.properties
Check the “application.log” file for any errors.
App Part 2 – Kinesis Producer
As for the consumer, export the credentials for the user created in AWS IAM:
cd amazon-kinesis-client-nodejs/samples/basic_sample/producer

export AWS_ACCESS_KEY_ID=????????????????????
export AWS_SECRET_ACCESS_KEY=????????????????????????????????????????
Create the configuration file (“config.js”) and ensure that the correct AWS region and stream are specified:
Create the producer code (“logging_producer.js”):
The producer is launched from “logging_producer_app.js”:
Run the producer:
node logging_producer_app.js
Check the consumer and producer “application.log” files for errors.
At this point, data should have been written to MongoDB Atlas. Using the connection string provided after clicking the “Connect” button in MongoDB Atlas, connect to the database and confirm that the documents have been added:
App Part 3 – Capturing Live Logs Using Amazon Kinesis Agent
Using the same consumer, the next step is to stream real log data. Fortunately, this doesn’t require any additional code as the Kinesis Agent can be used to monitor files and add every new entry to a Kinesis Stream (or Firehose).
Install the Kinesis Agent:
sudo yum install –y aws-kinesis-agent
and edit the configuration file to use the correct AWS region, user credentials, and stream in “/etc/aws-kinesis/agent.json”:
“/var/log/messages” is a SYSLOG file and so a “dataProcessingOptions” field is included in the configuration to automatically convert each log into a JSON document before writing it to the Kinesis Stream.
The agent will not run as root and so the permissions for “/var/log/messages” need to be made more permissive:
sudo chmod og+r /var/log/messages
The agent can now be started:
sudo service aws-kinesis-agent start
Monitor the agent’s log file to see what it’s doing:
sudo tail -f /var/log/aws-kinesis-agent/aws-kinesis-agent.log
If there aren’t enough logs being generated on the machine then extra ones can be injected manually for testing:
logger -i This is a test log
This will create a log with the “program” field set to your username (in this case, “ec2-user”). Check that the logs get added to MongoDB Atlas:
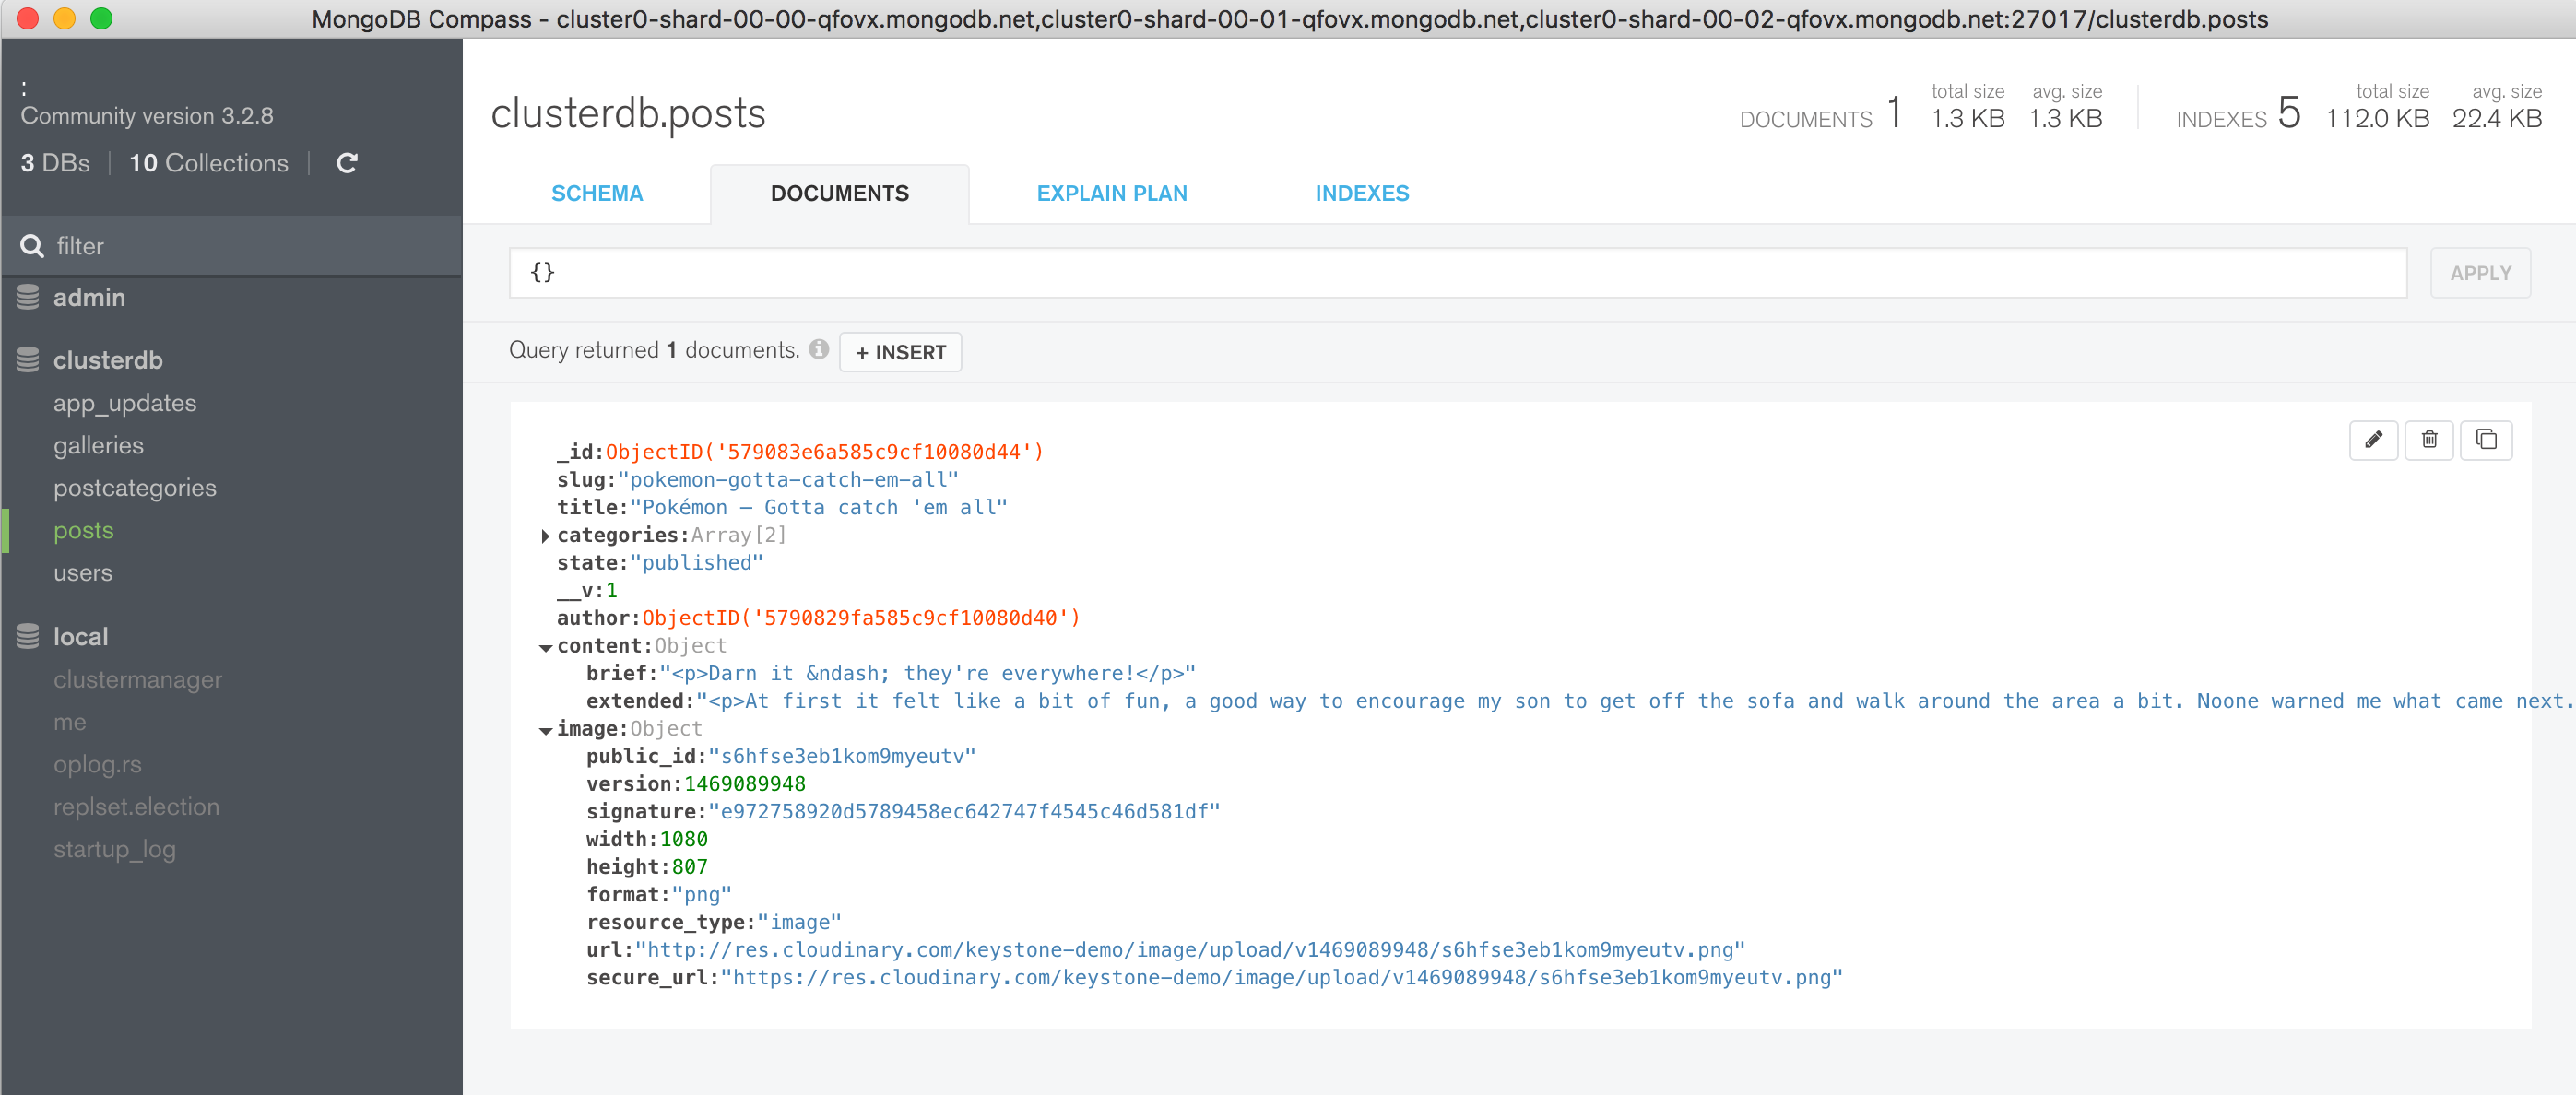
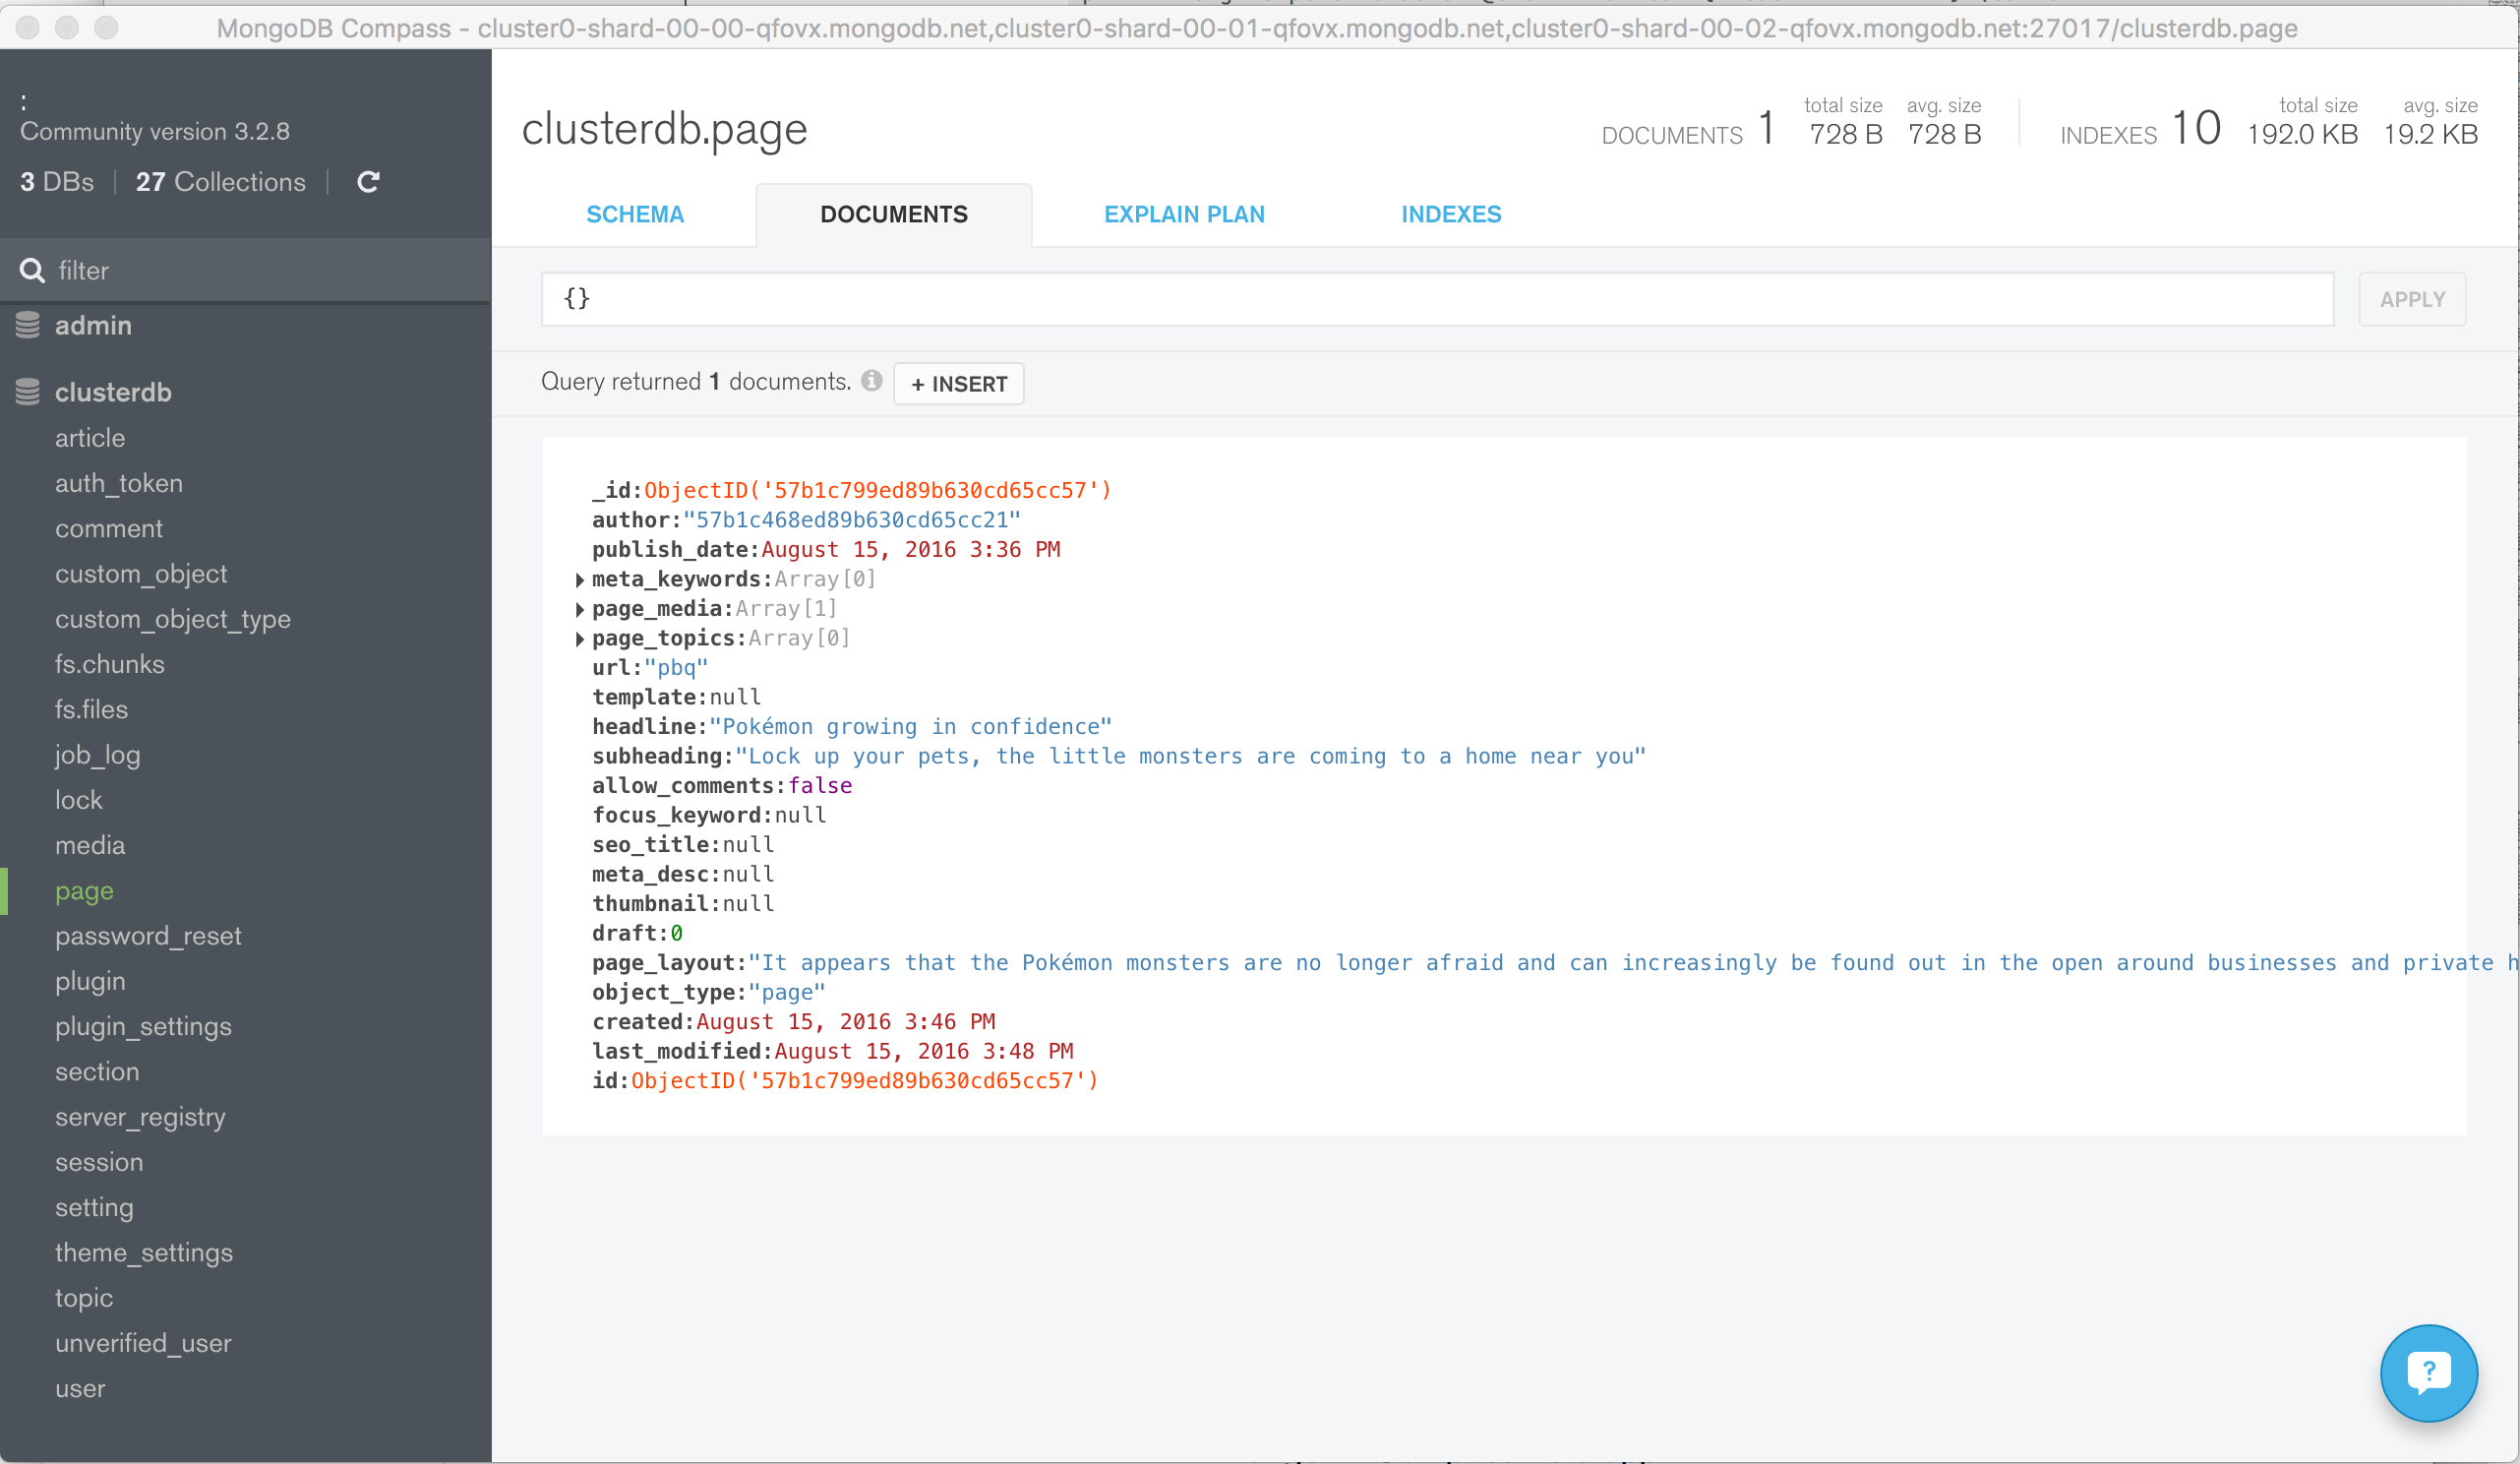
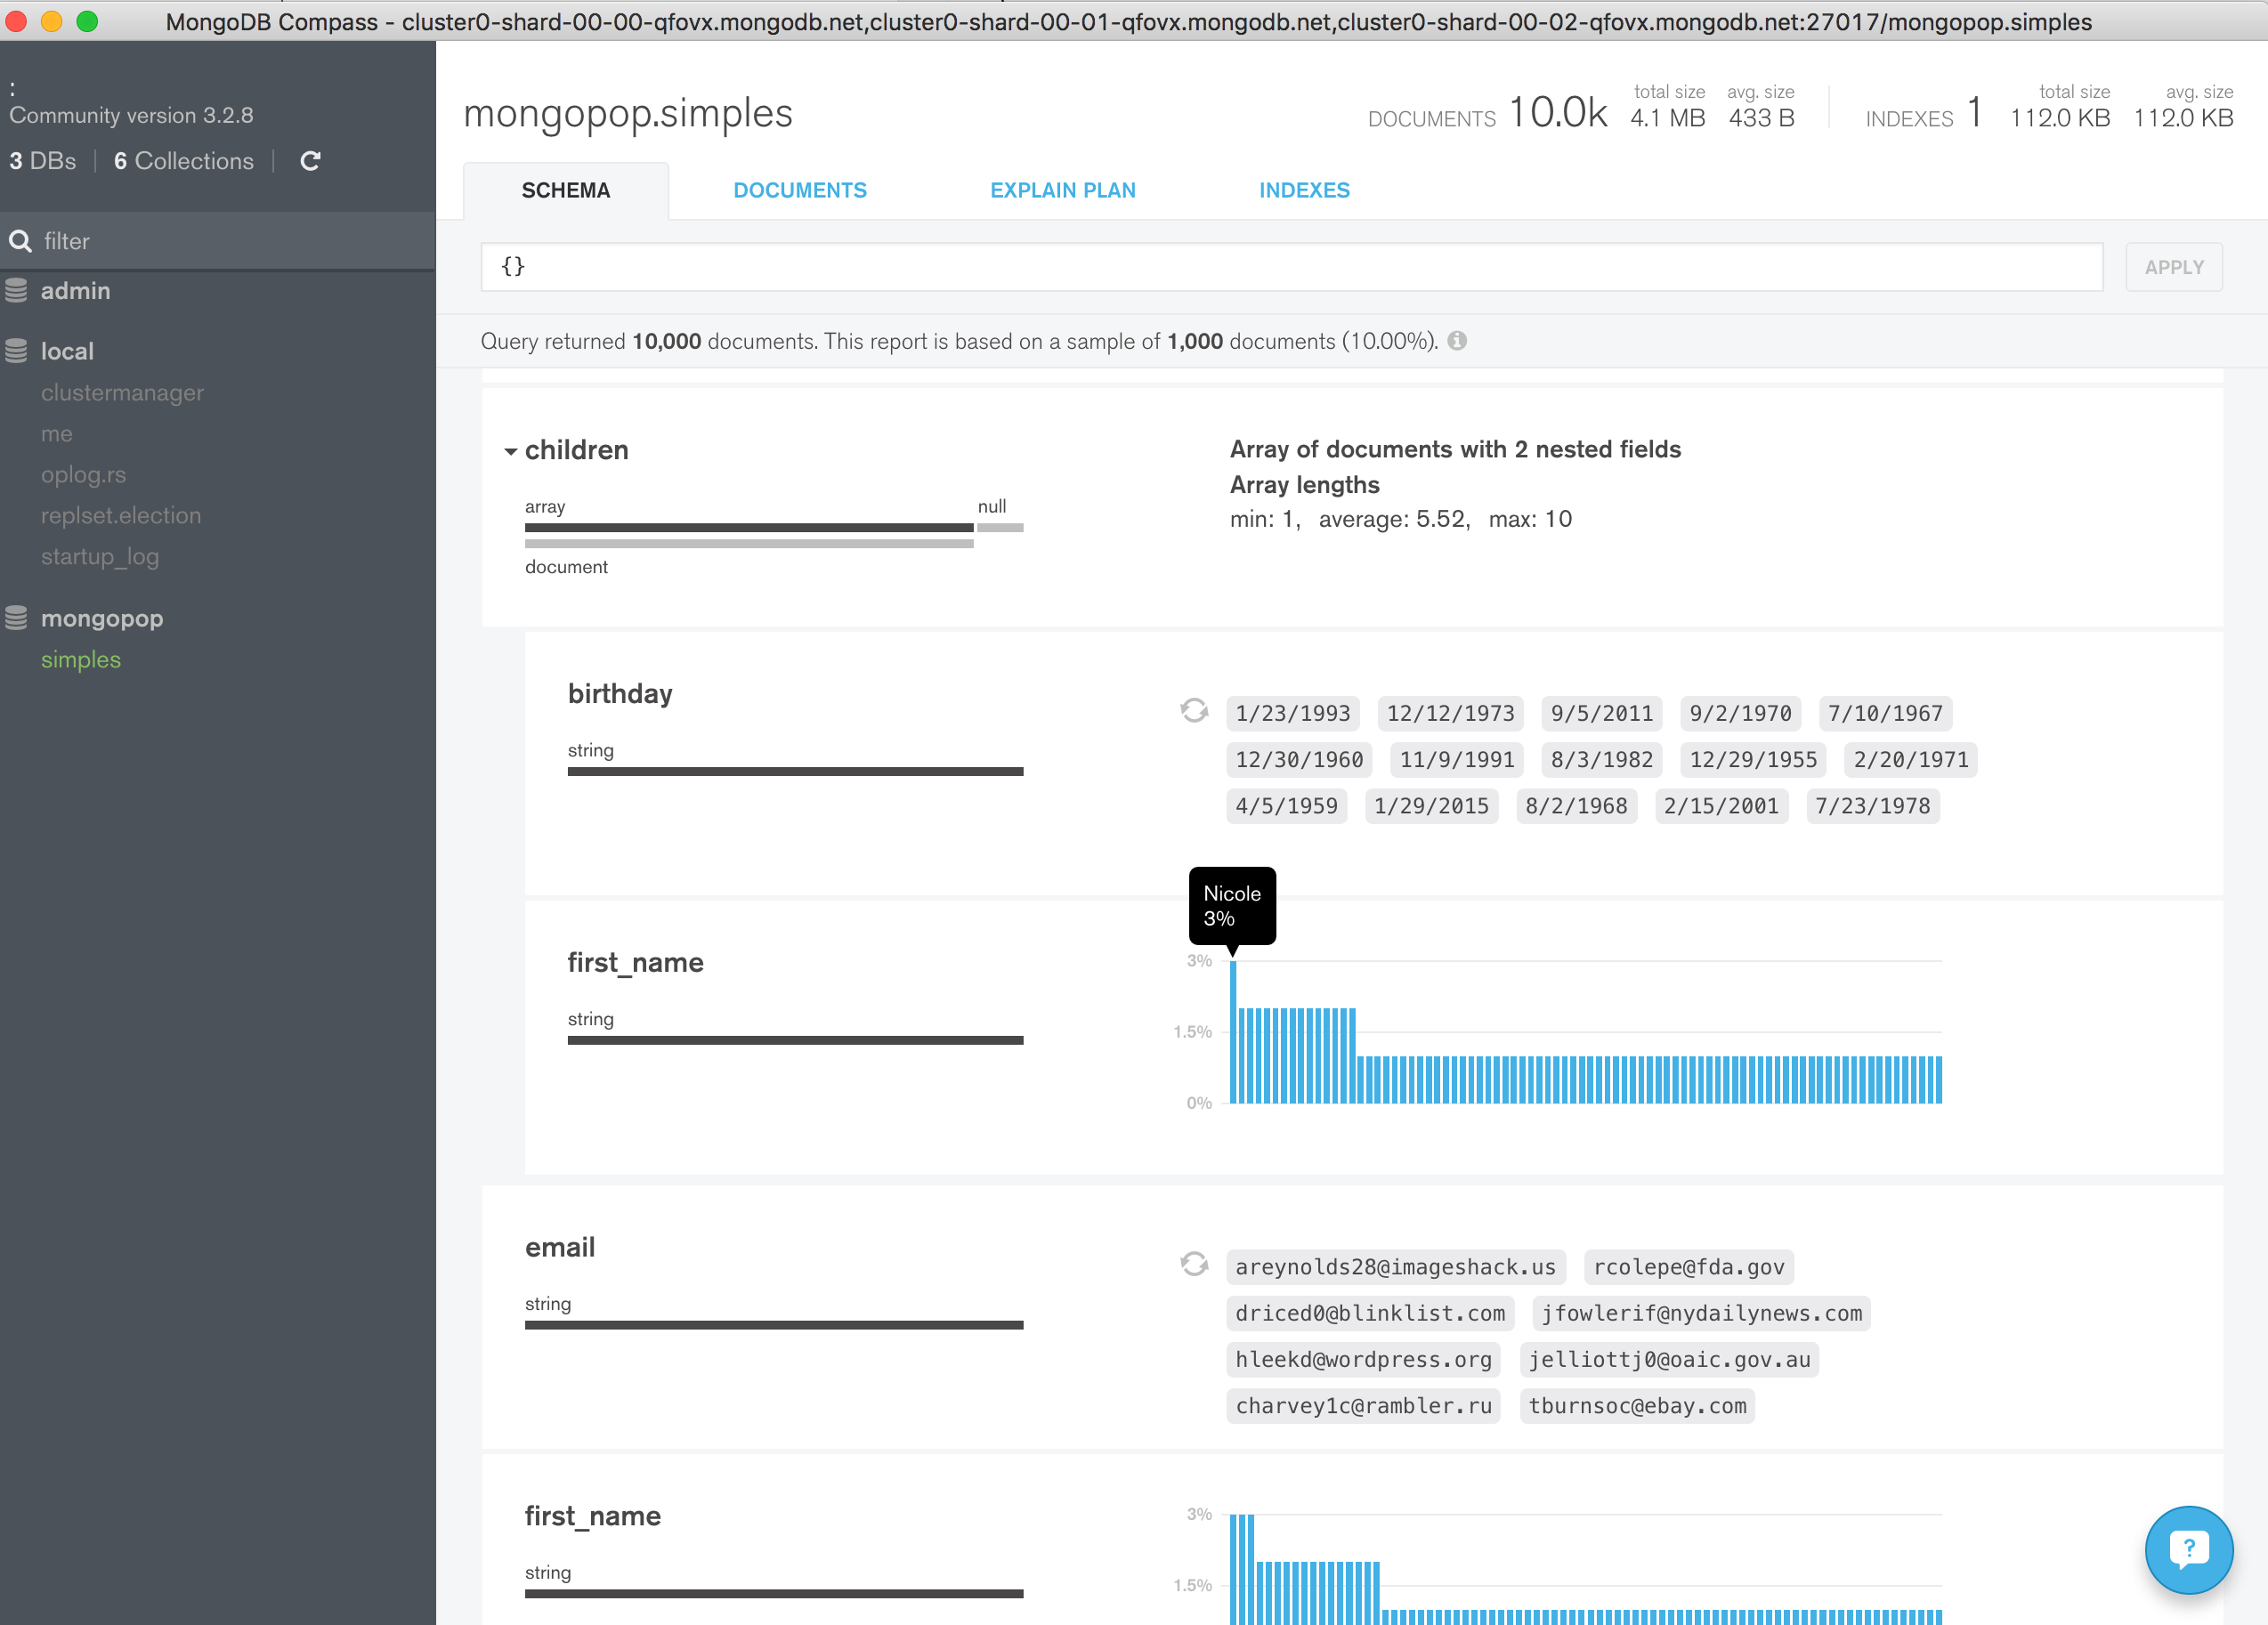
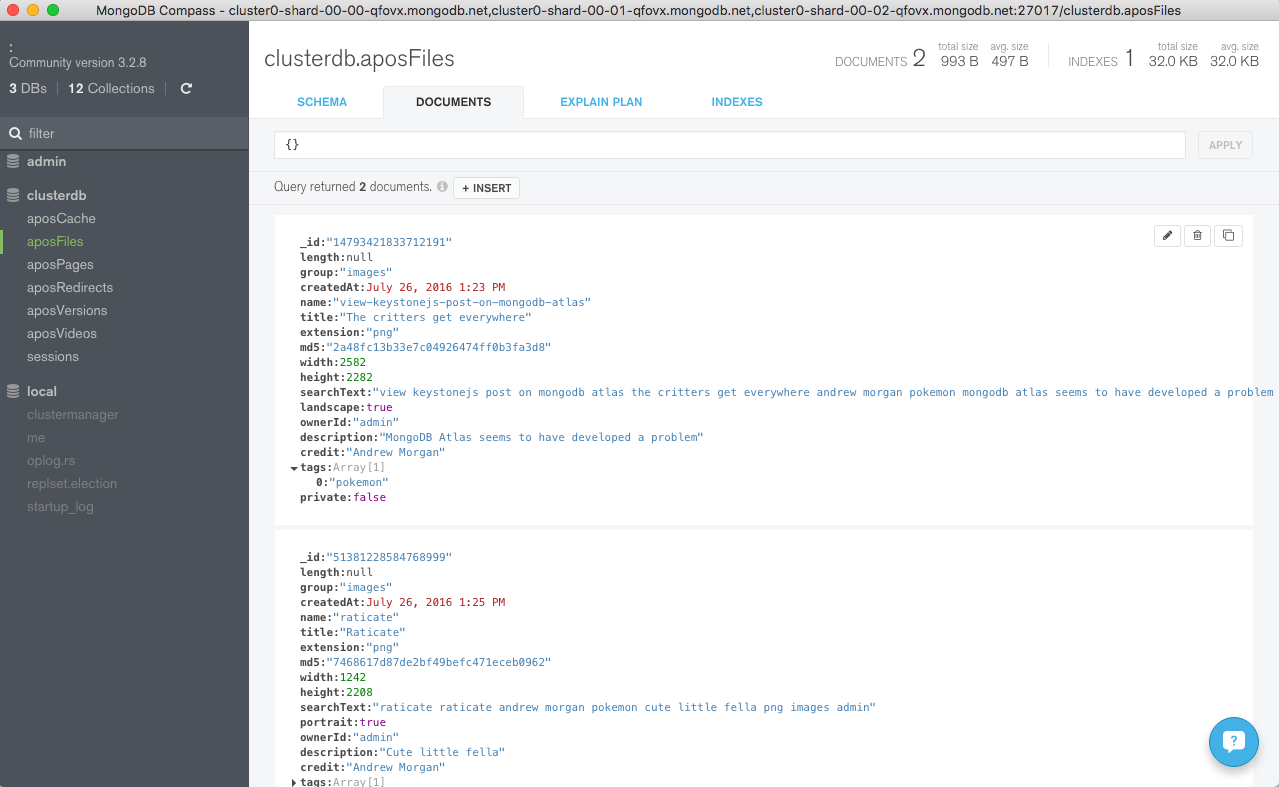
Checking the Data with MongoDB Compass
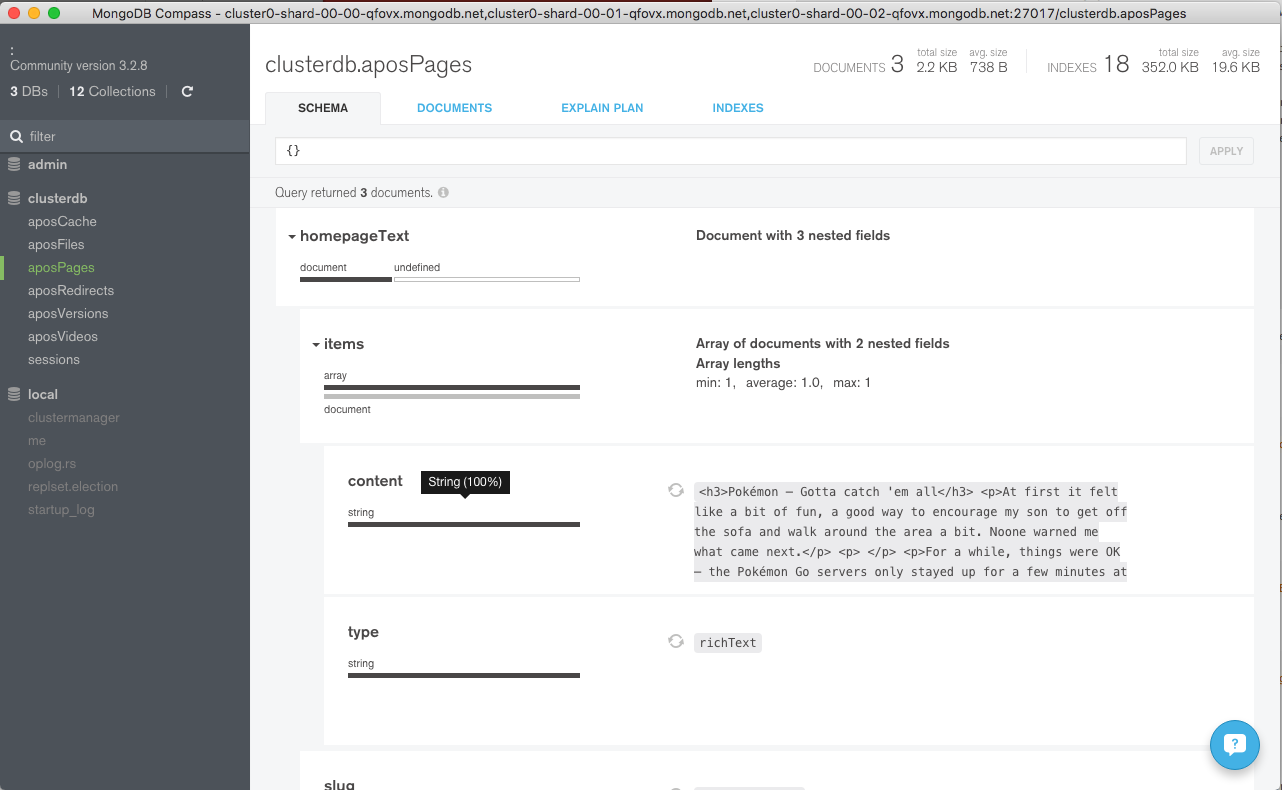
To visually navigate through the MongoDB schema and data, download and install MongoDB Compass. Use your MongoDB Atlas credentials to connect Compass to your MongoDB database (the hostname should refer to the primary node in your replica set or a “mongos” process if your MongoDB cluster is sharded).
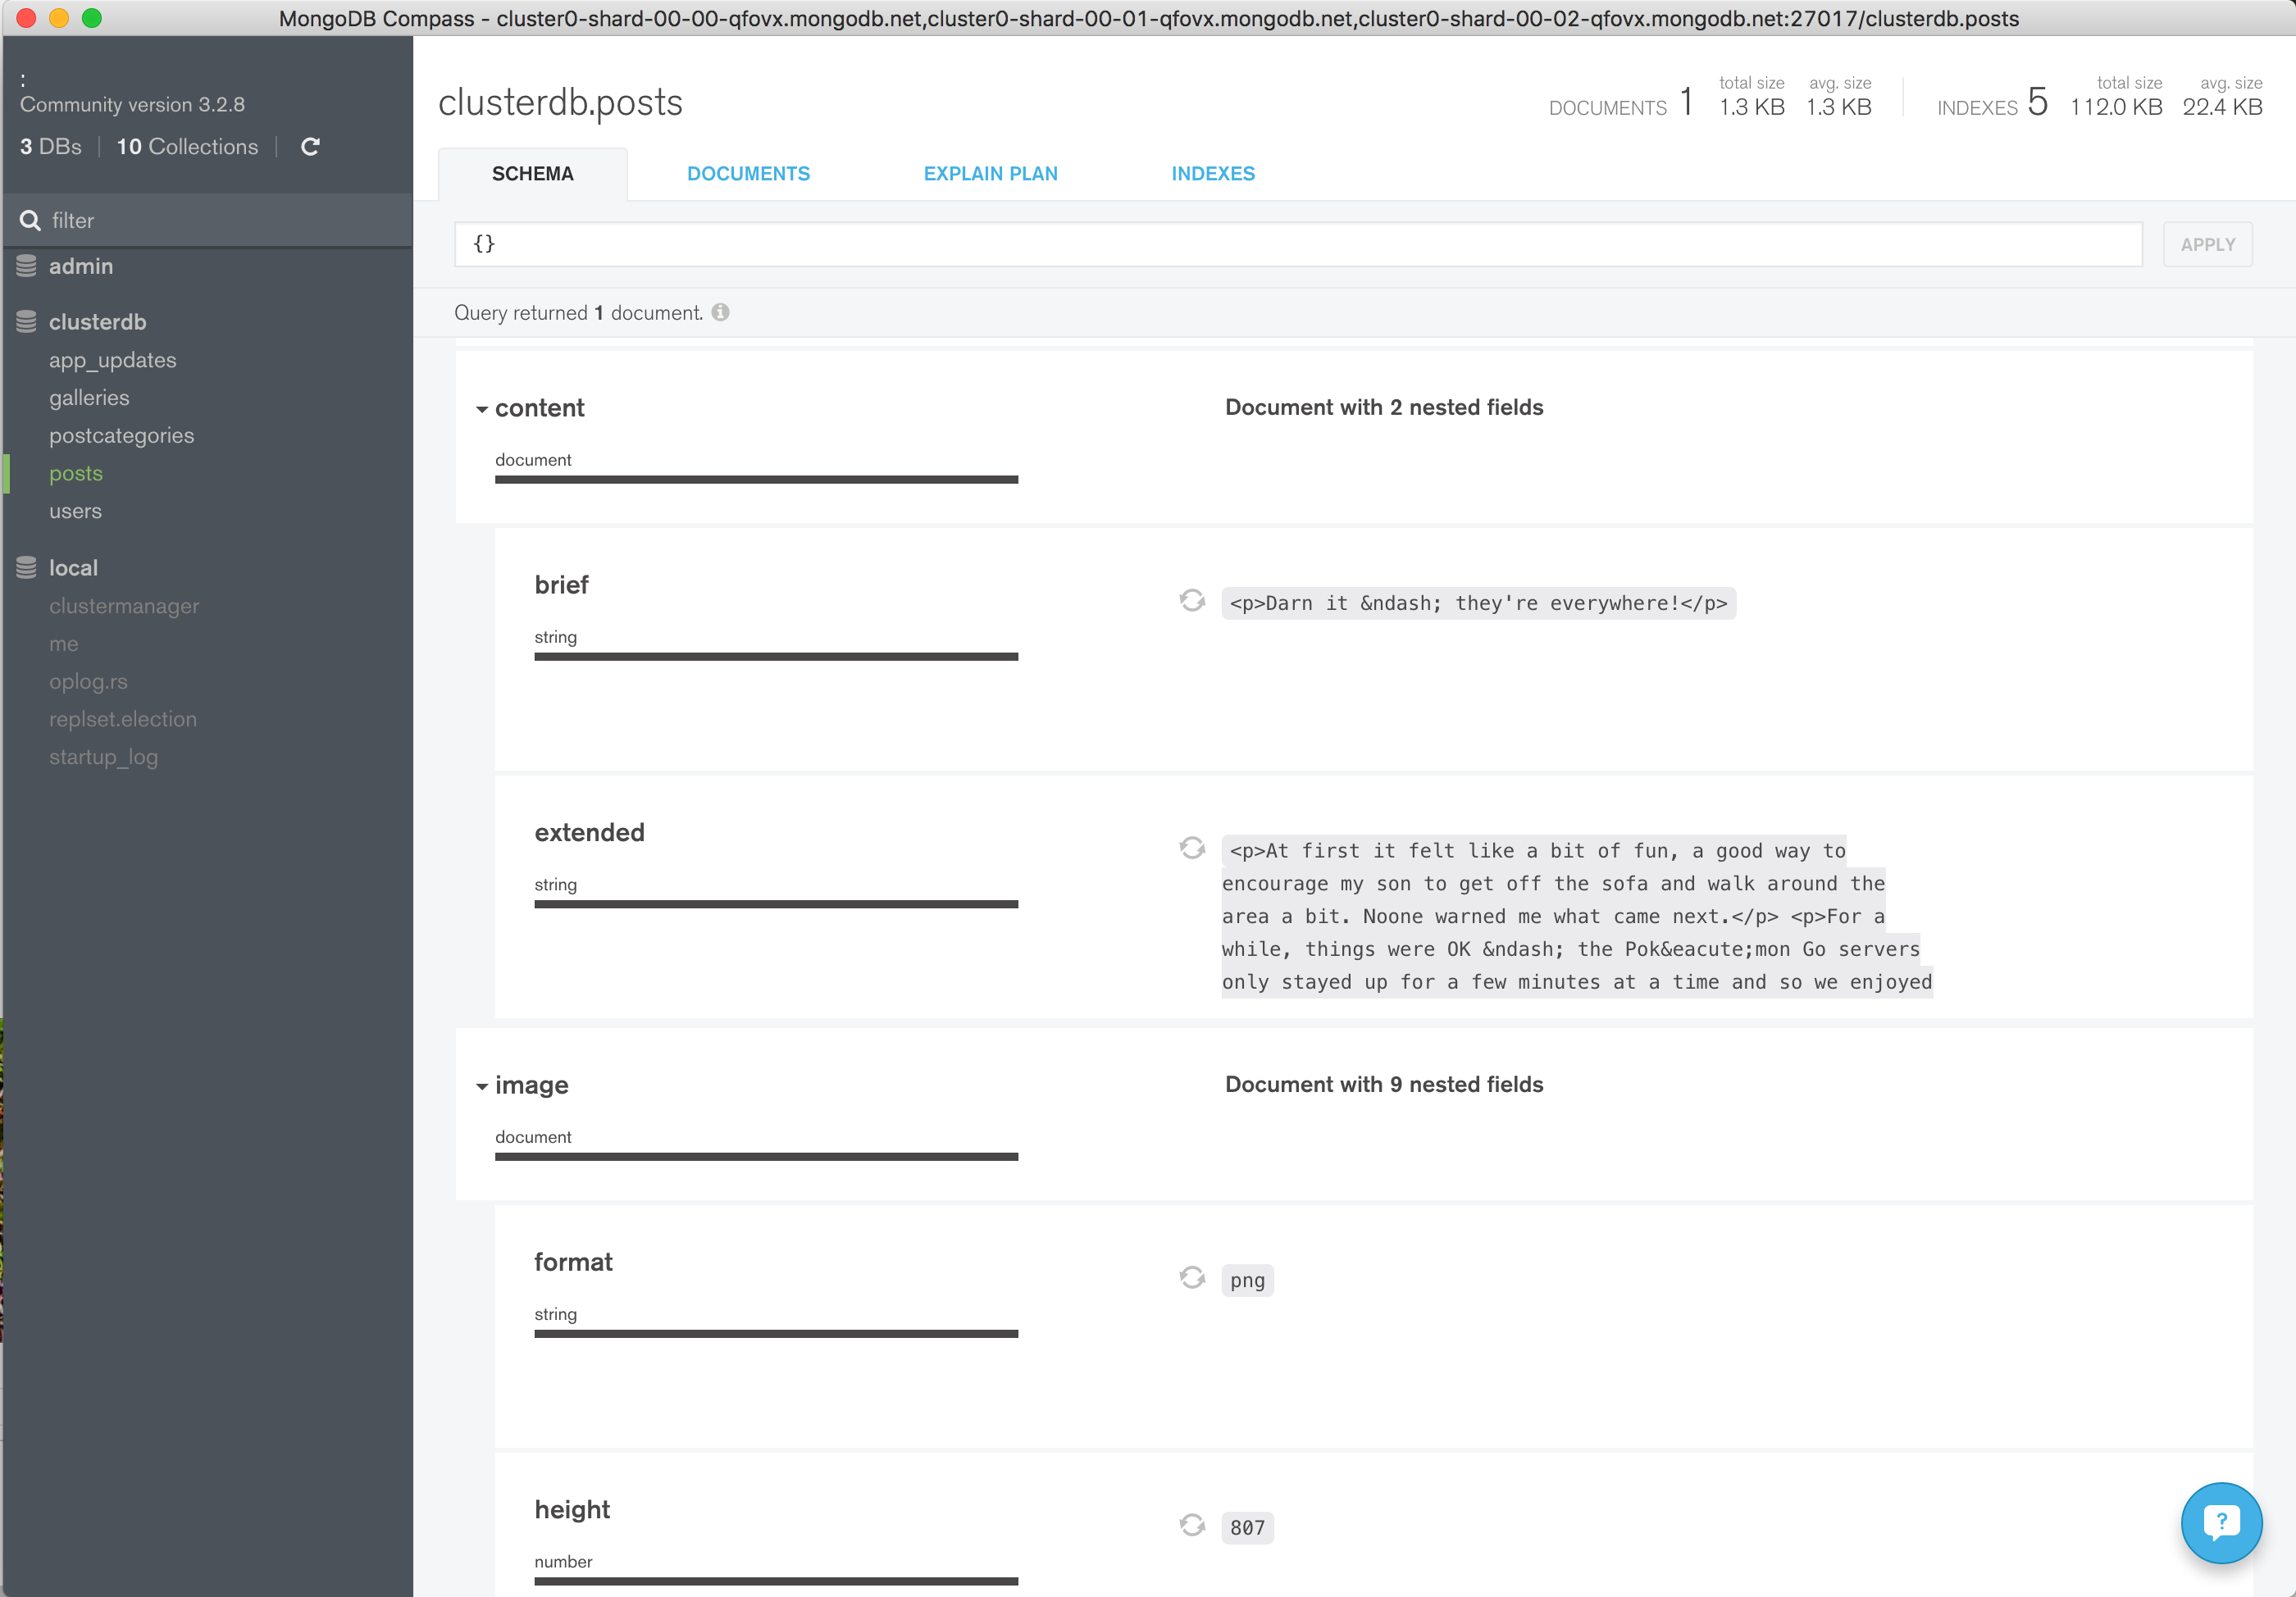
Navigate through the structure of the data in the “clusterdb” database (Figure 5) and view the JSON documents.

Figure 5: Explore Schema Using MongoDB Compass
Clicking on a value builds a query and then clicking “Apply” filters the results (Figure 6).

Figure 6: View Filtered Documents in MongoDB Compass
Add Document Validation Rules
One of MongoDB’s primary attractions for developers is that it gives them the ability to start application development without first needing to define a formal schema. Operations teams appreciate the fact that they don’t need to perform a time-consuming schema upgrade operation every time the developers need to store a different attribute.
This is well suited to the application built in this post as logs from different sources are likely to include different attributes. There are however some attributes that we always expect to be there (e.g., the metadata that the application is adding). For applications reading the documents from this collection to be able to rely on those fields being present, the documents should be validated before they are written to the database. Prior to MongoDB 3.2, those checks had to be implemented in the application but they can now be performed by the database itself.
Executing a single command from the “mongo” shell adds the document checks:
The above command adds multiple checks:
- The “program” field exists and contains a string
- There’s a sub-document called “metadata” containing at least 2 fields:
- “mongoLabel” which must be a string
- “timeAdded” which must be a date
Test that the rules are correctly applied when attempting to write to the database:
Cleaning Up (IMPORTANT!)
Remember that you will continue to be charged for the services even when you’re no longer actively using them. If you no longer need to use the services then clean up:
- From the MongoDB Atlas GUI, select your Cluster, click on the ellipses and select “Terminate”.
- From the AWS management console select the Kinesis service, then Kinesis Streams, and then delete your stream.
- From the AWS management console select the DynamoDB service, then tables, and then delete your table.
Using MongoDB Atlas with Other Frameworks and Services
We have detailed walkthroughs for using MongoDB Atlas with several programming languages and frameworks, as well as generic instructions that can be used with others. They can all be found in Using MongoDB Atlas From Your Favorite Language or Framework.